
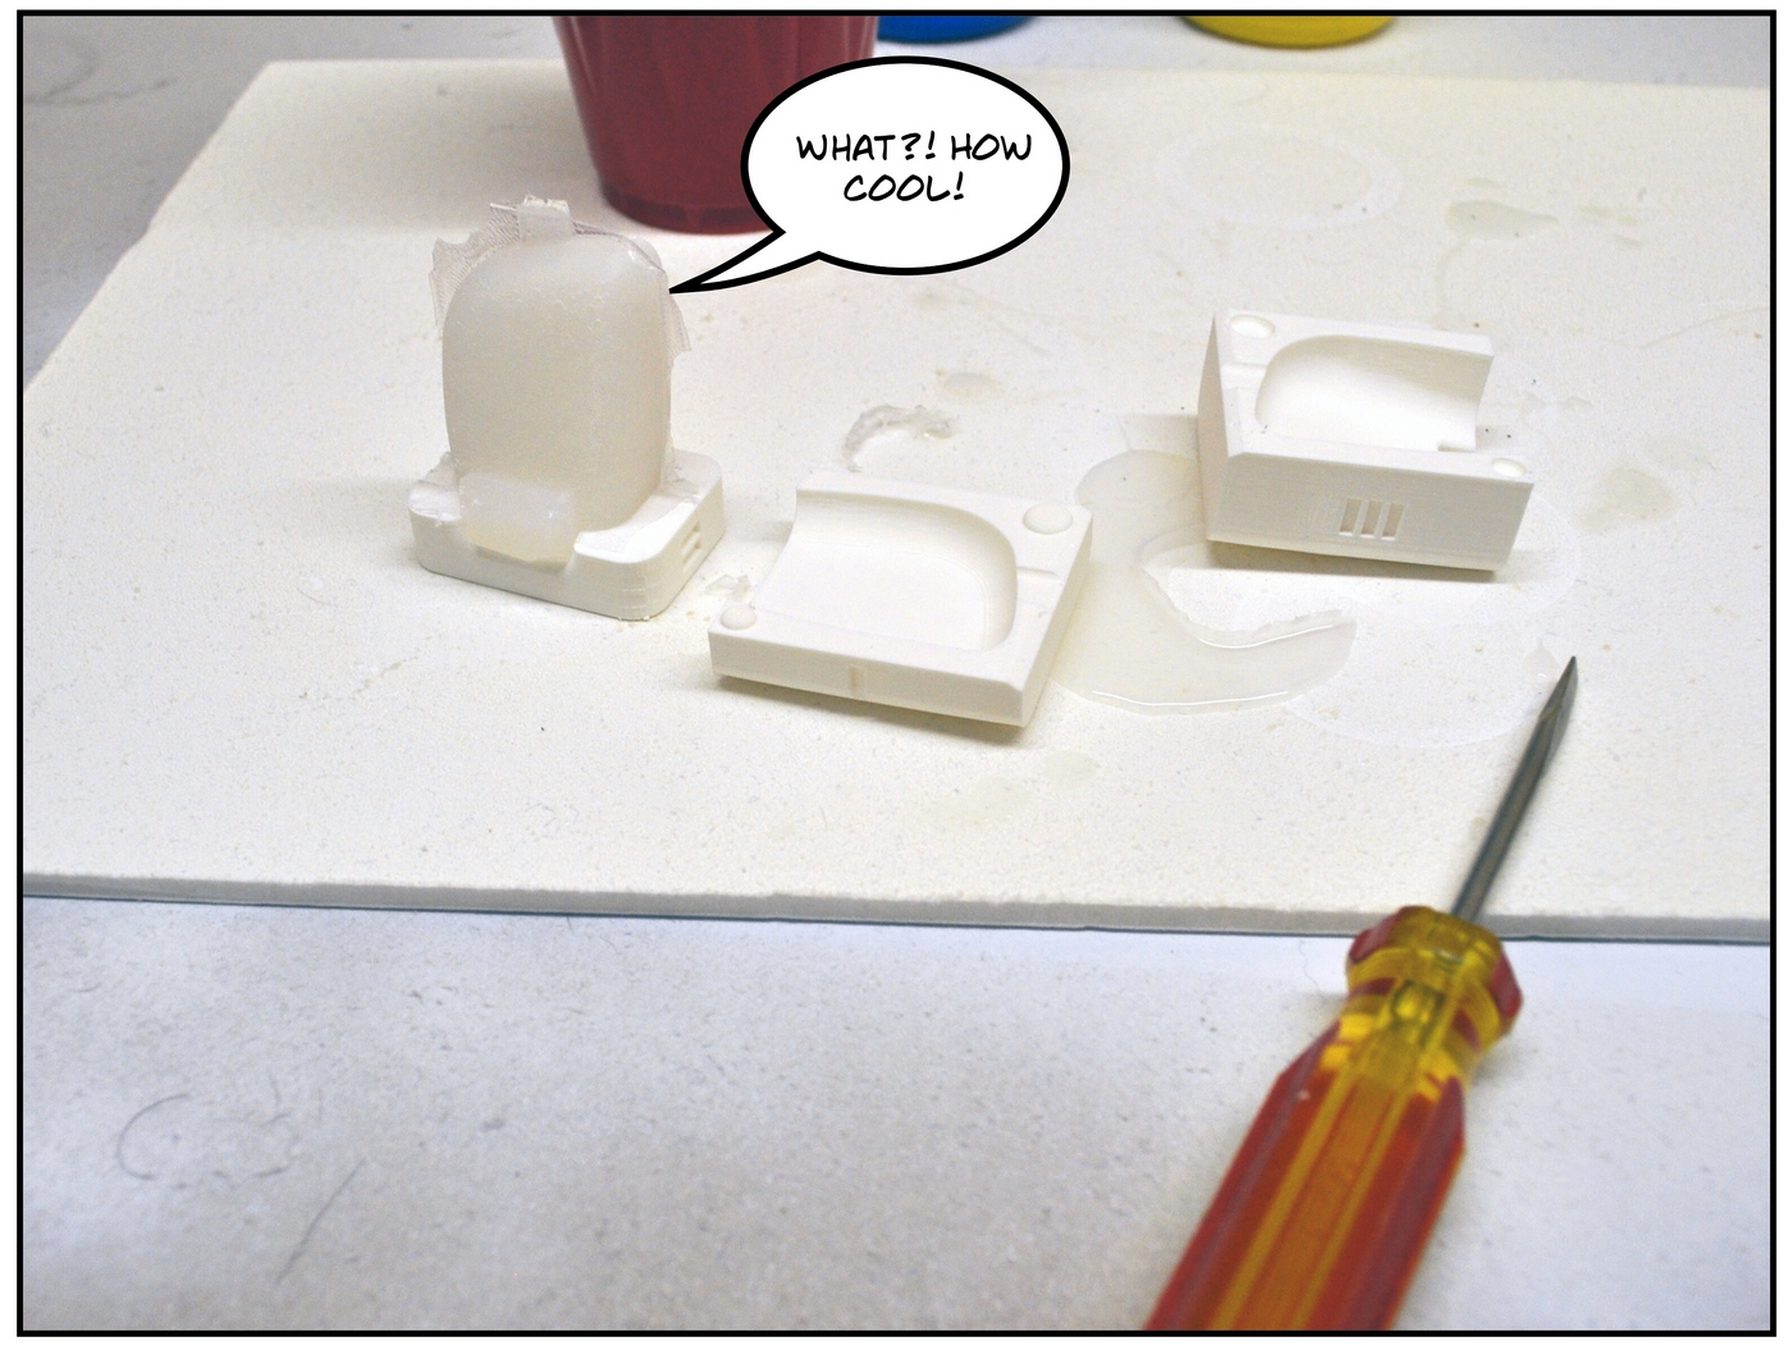
Will Harris at Design That Matters has posted a fun tutorial on HOW TO: Create a Rubber Prototype Using a 3D Printed Mold that is a step by step process that is easy to follow and looks like the kind of fun that will have you pouring liquid rubber into 3D printed molds for months.

You can flex your industrial design skills in software such as Solidworks or Inventor which both have great tools to help you boolean and split a mold from your designed part. Will also includes practical design tips such as including registration pins and escape vents into your mold to ensure bubbles do not form and you can add extra material to your 3D printed mold if required. (or you can mix colors and/or materials if you want to get a little more experimental).

The best materials for 3D printed molds are usually polished Nylon or Acrylic if you want to do smaller, higher detail molds from your 3D prints. Some people also spray the molds with silicone as a mold release to ensure you do not end up simply gluing your mold together with the filler material.
Why stop at rubber, you can use your 3D printed molds for many materials, soap, crayons, wax, ice, jello, or even, mature cheddar cheese.
This is exactly how my partner and I developed all out products for our lure company, biospawn.com. At first we used Shapeways parts and made silicone molds of them in order to inject our plastic into, we then moved on to 3D printing mold blanks with Shapeways. Sped up the process ten-fold!
Yes, all well and good for making rubber items, but what I would love to see from Shapeways is a silicone material that will allow users to create items from a hard material such as resin, for example, or even better a high-heat silicone that will allow low-temp metals such as pewter to be cast into them.