
Clear Ultra Fine Detail Plastic

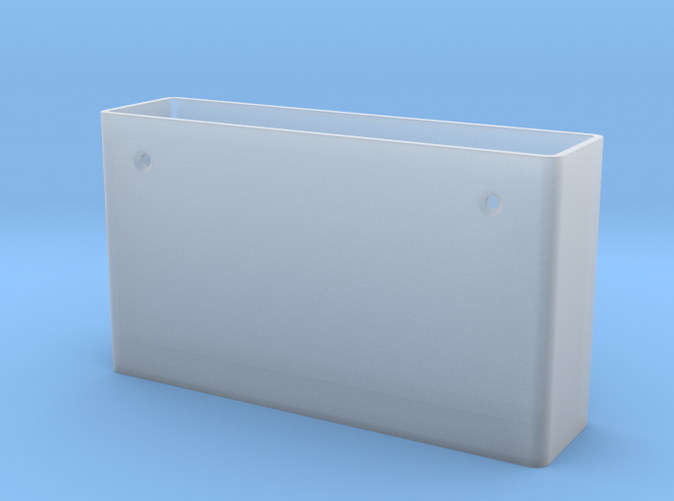
Custom housing for Focusrite Scarlett 2i2 2nd gen
Made by
Print With Shapeways
 Choose Your Material
 Choose your color and finish
$379.83
Have a question about this product?
contact the designerYou must be logged in and verified to contact the designer.
Product Description
Have you got a Focusrite Scarlett 2i2 2nd gen audio interface, but you don't like the red brushed aluminium housing? This might help you! You can order a 3D-printed housing in various different colors to fit your studio. A custom logo or text can be requested at order. A logo must be black and white. The black will be cut into any of the 4 sides on whatever position you want. The cut will be either 0.15 or 0.3 mm deep. That's up to you.
Installation:
Installation:
- Carefully peel the rubber feet on the rear bottom of your Focusrite Scarlett 2i2 2nd gen to expose the mounting bolts. Only these two bolts hold the interface in the housing. Use a phillips screwdriver to remove the bolts.
- Carfully slide the interface out the front of the housing.
- Slide the interface into the new housing in the same orientation (the ridge on the inside of the housing is the front side and the mounting holes should be at the bottom).
- Use the original bolts to secure the interface inside it's new housing.
- Carefully peel the rubber feet off of the original housing and stick them on the bottom of the new housing. Keep in mind that both feet have a flat underside on one end and on the other end, there's a nudge that sticks out the bottom. This nudge is supposed to go inside the bit of the bolt. You might need some double sided tape to properly secure the feet to the new housing as it leaves some glue behind when peeled off.
Request a custom order
and get this product personalized just for you
Details
What's in the box:
Custom housing for Focusrite Scarlett 2i2 2nd gen
Dimensions:
Success Rate:
First To try.
What's this?
Rating:
Mature audiences only.
