
Hario Skerton Coffee Grinder Stabilizer
Made by
Have a question about this product?
contact the designerProduct Description
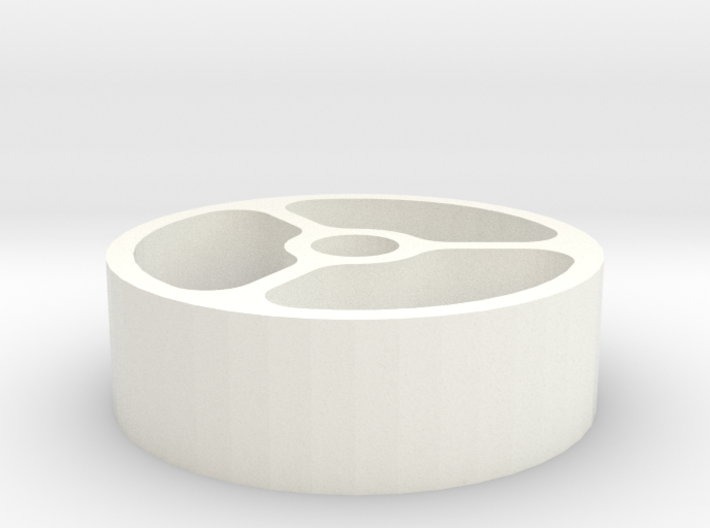
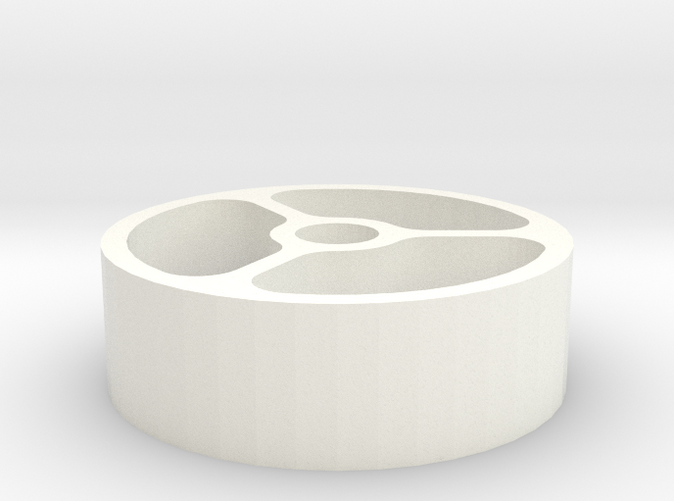
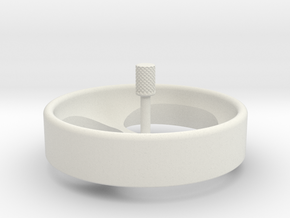
This is a modification that can be added to any hario skerton coffee grinder. The purpose of this model is to help the grinder to produce the best grinds possible.
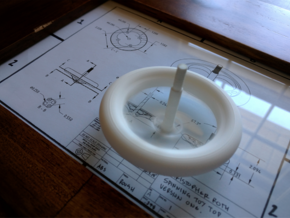
When disassembling the grinder and reassembling it with the new addition there are a few guidelines that will help smooth out the process. It is a bit tricky.
Following are some suggested steps:
1. Unscrew everything from the central post. (the handle, and the ring.)
2. Remove the central post that is connected to the inner grinting "cone".
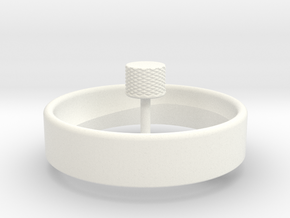
3. Now screw the new addition onto the central post. This will be very difficult because it is a very tight fit. Dont worry, you wont break it. It will help to run some water over it while forcing it on.
3.5. If you want to make this easier on yourself, then you can remove the central ceramic cone by loosening the bolt on the end of it.
4. Now that the addition is on the central metal post, you need to remove the outer ceramic grinding ring from the bottom of the grinder. (this can be done with a small screwdriver.)
5. Slide the central post with the new addition into its origional position. (this might take some forcing again.) The addition should end up being flush to the bottom of the plastic housing.
6. Screw the outer ceramic ring back onto the bottom of the plastic housing.
Boom. You're ready to grind some really good coffee.
Details
