


ClayHood Tools01
Made by
Have a question about this product?
contact the designerProduct Description
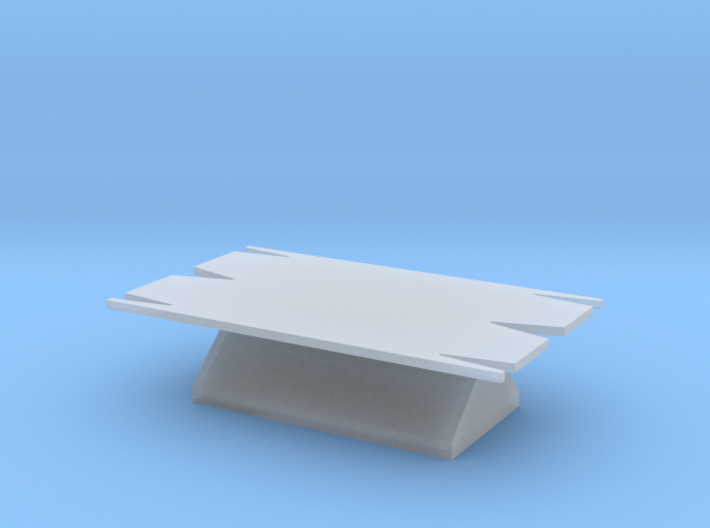
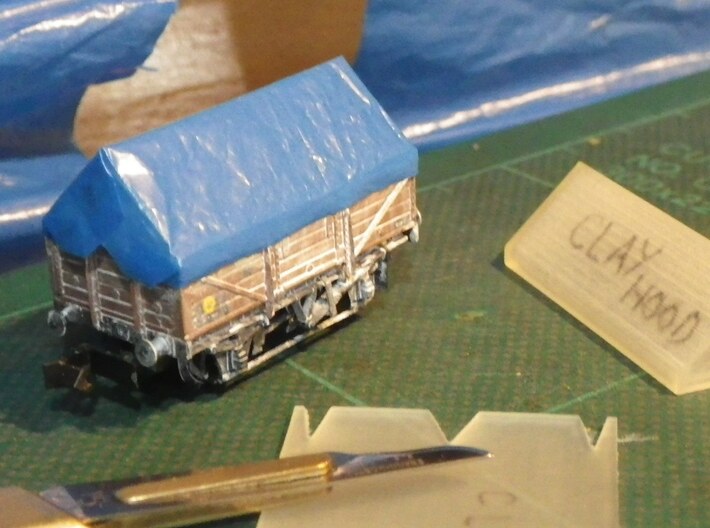
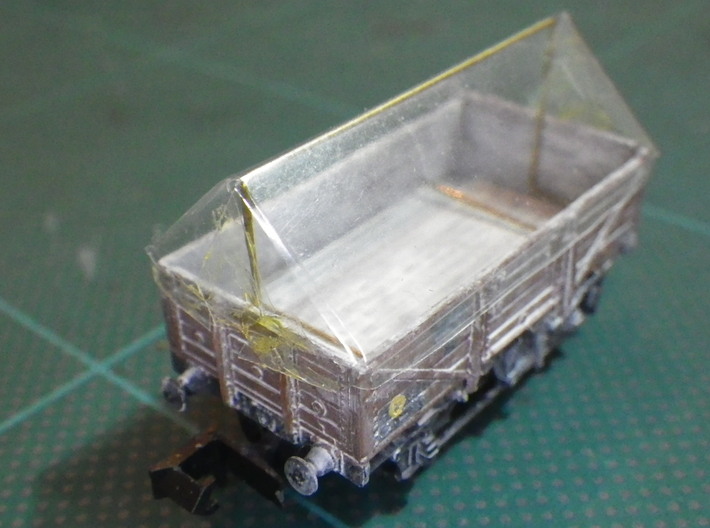
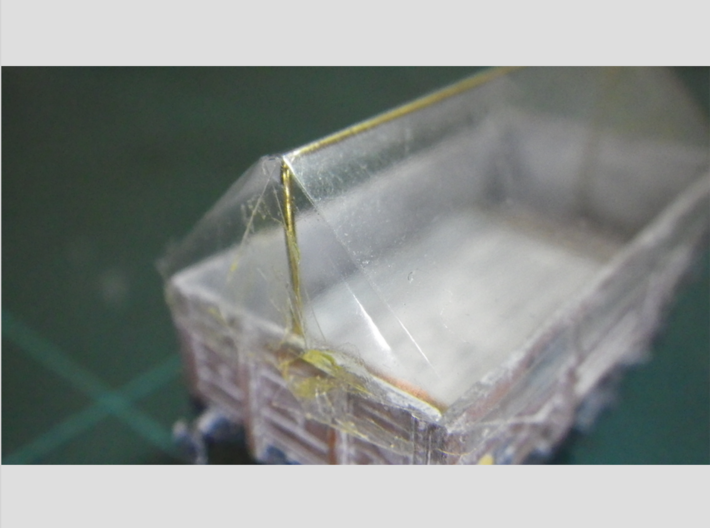
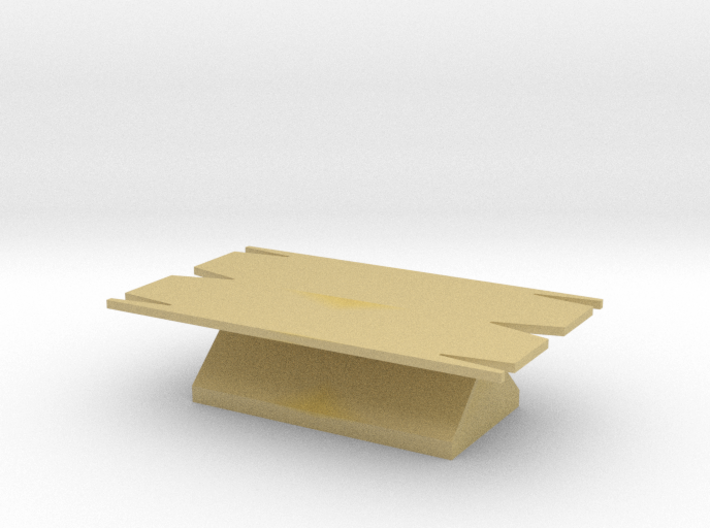
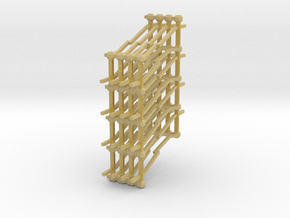
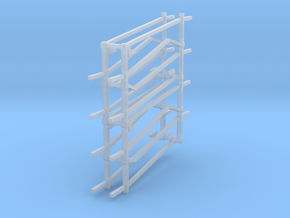
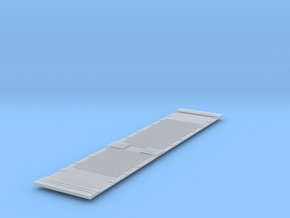
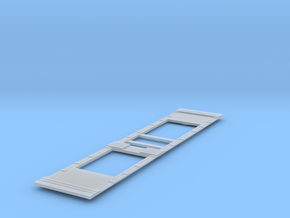
A pattern and a jig to make "tarpaulin" sheets to put over the Parkwood Models/N-gauge Society kit for the famous "Clay Hood" wagon. Hold the flat pattern down firmly on the material you have chosen for the hood. I suggest aluminium kitchen foil, thin paper, or a bit of plastic bag or even the funny foil you get on the top of some wine bottles. Flimsy material will need a wire support bent to sit inside the wagon to hold it up (the top of this should be about 14.5 mm above the floor of the wagon). Cut around the pattern with a sharp scalpel and free the workpiece from the sheet. Fold it firmly along the middle between the points of the middle Vs on opposite ends. Open it out and form similar parallel fold lines between the other Vs. Place it symmetrically over the jig and fold the end flaps down as firmly as you can, one at a time, with a little glue to stick it to the others. It may help to glue the first one down on to the end of the jig USING A TINY AMOUNT OF GLUE if it won't stay there on its own, you should be able to lift it back off by sliding a scalpel under the edge later on. Trim the excess from the ends. Make sure you can get it off the jig, then put it back on for the glue to dry. Paint and weather while it is on the jig, or place over the wagon if you want it to sag a bit between the wire support and the wagon sides. UPDATED FILE 11th Jan 2015 (Julia) to make the end tags longer to fully cover the ends without adding a patch. If I get around to changing it again, the outer Vs could be a different shape to make the outermost end tag less fiddly, and leave less material to be trimmed off after the other tags have been stuck down.
Details

