Smoothest Fine Detail Plastic


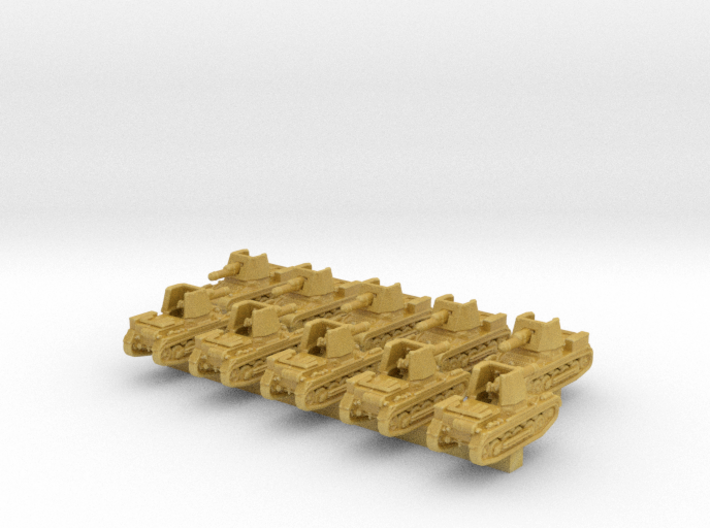
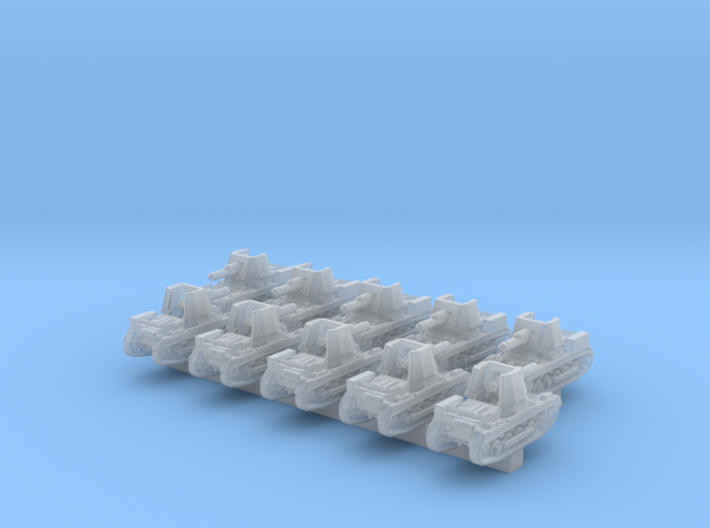
1/600 German Panzerjager I Tank Destroyer x10
Made by
Print With Shapeways
 Choose Your Material
 Choose your color and finish
$18.16
Have a question about this product?
contact the designerYou must be logged in and verified to contact the designer.
Product Description
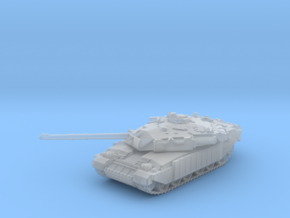
1/600 Scale WW2 German Army Panzerjager I Tank Destroyer.
Contains 10 highly detailed tanks.
Contains:
10x German Panzerjager I Tank Destroyers
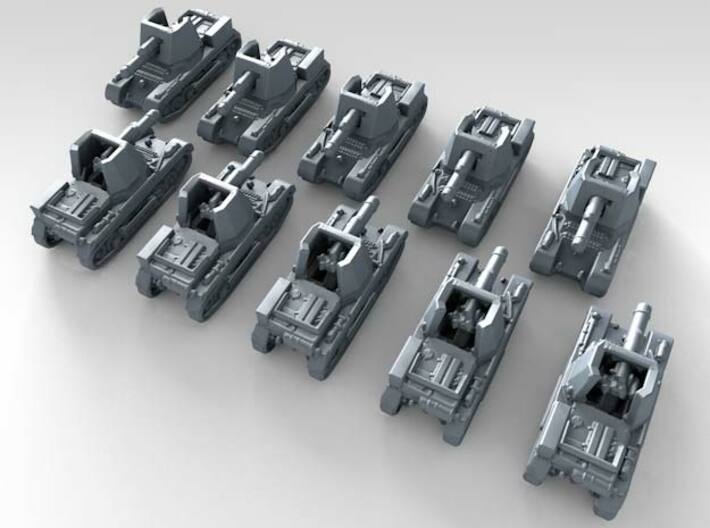
Panzerjager I Tank Destroyers
The Panzerjäger I (English: Tank Hunter 1) was the first of the German tank destroyers to see service in the Second World War. It mounted a Czech Škoda 4.7 cm (1.9 in) cm Pak (t) anti-tank gun on a converted Panzer I Ausf. B chassis. It was intended to counter heavy French tanks like the Char B1 that were beyond the capabilities of the 3.7 cm PaK 36 anti-tank gun and served to extend the life of the obsolete Panzer I tank chassis. 202 Panzer I were converted to the Panzerjäger I in 1940 and 1941. They were employed in the Battle of France, in the North Africa Campaign and on the Eastern Front.
The Panzer I turret was removed and a fixed gun shield added to protect the armament and crew. The anti-tank gun was mounted on a pedestal in the fighting compartment with the wheels, axle and trails removed; it retained its original gun shield. It normally carried 74 anti-tank and 10 HE shells. Alkett and contractors built 202 vehicles, the first series of 132 by Alkett in 1940. Ten of the second series of 70 were assembled by Alkett while the remainder were assembled by Klöckner-Humboldt-Deutz in 1940 and 1941. Vehicles in the second series are recognizable by their seven-sided gun shield while the first series had a five-sided shield. The formal name of the equipment was 4.7 cm PaK(t) (Sf) auf Panzerkampfwagen I ohne Turm, translating as "4.7 cm anti-tank gun (Czech) on turretless Pz.Kpfw. I".
Cleaning Information
Some part cleanup will be necessary. The 3D printing process uses a waxy substance to support certain part features during the printing process. Although the parts are cleaned by Shapeways, some waxy residue may remain. It can be safely removed with water and a mild aqueous detergent like "Simple Green" using an old, soft toothbrush, Q-tips or pipe cleaners. During the printing process, liquid resin is cured by ultraviolet light. Microscopic bits of resin may remain uncured.
Let your parts sit in direct sunlight for a few hours to fully cure the resin.
Water-based acrylic paints meant for plastics is strongly recommended. Other paints, especially enamels, may not cure on Frosted Detail 3D-printed plastics.
Use dedicated model sprue cutters to remove parts to minimise the risk of damage to parts.
Please take a look at my other items.
Painting tips and preparation
Contains 10 highly detailed tanks.
Contains:
10x German Panzerjager I Tank Destroyers
Panzerjager I Tank Destroyers
The Panzerjäger I (English: Tank Hunter 1) was the first of the German tank destroyers to see service in the Second World War. It mounted a Czech Škoda 4.7 cm (1.9 in) cm Pak (t) anti-tank gun on a converted Panzer I Ausf. B chassis. It was intended to counter heavy French tanks like the Char B1 that were beyond the capabilities of the 3.7 cm PaK 36 anti-tank gun and served to extend the life of the obsolete Panzer I tank chassis. 202 Panzer I were converted to the Panzerjäger I in 1940 and 1941. They were employed in the Battle of France, in the North Africa Campaign and on the Eastern Front.
The Panzer I turret was removed and a fixed gun shield added to protect the armament and crew. The anti-tank gun was mounted on a pedestal in the fighting compartment with the wheels, axle and trails removed; it retained its original gun shield. It normally carried 74 anti-tank and 10 HE shells. Alkett and contractors built 202 vehicles, the first series of 132 by Alkett in 1940. Ten of the second series of 70 were assembled by Alkett while the remainder were assembled by Klöckner-Humboldt-Deutz in 1940 and 1941. Vehicles in the second series are recognizable by their seven-sided gun shield while the first series had a five-sided shield. The formal name of the equipment was 4.7 cm PaK(t) (Sf) auf Panzerkampfwagen I ohne Turm, translating as "4.7 cm anti-tank gun (Czech) on turretless Pz.Kpfw. I".
Cleaning Information
Some part cleanup will be necessary. The 3D printing process uses a waxy substance to support certain part features during the printing process. Although the parts are cleaned by Shapeways, some waxy residue may remain. It can be safely removed with water and a mild aqueous detergent like "Simple Green" using an old, soft toothbrush, Q-tips or pipe cleaners. During the printing process, liquid resin is cured by ultraviolet light. Microscopic bits of resin may remain uncured.
Let your parts sit in direct sunlight for a few hours to fully cure the resin.
Water-based acrylic paints meant for plastics is strongly recommended. Other paints, especially enamels, may not cure on Frosted Detail 3D-printed plastics.
Use dedicated model sprue cutters to remove parts to minimise the risk of damage to parts.
Please take a look at my other items.
Painting tips and preparation
Details
What's in the box:
600 Panzerjager I X10.stl

Dimensions:
Success Rate:
First To try.
What's this?
Rating:
Mature audiences only.

