

Welcome to Part 4 of our tutorial series on Vectary, a free online 3D modeling tool. If you’re just starting out, check out this video for an introduction.
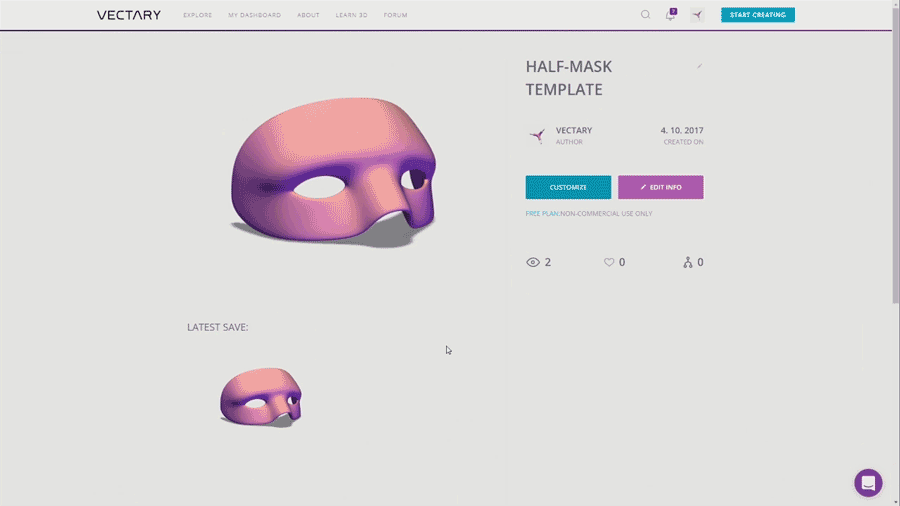
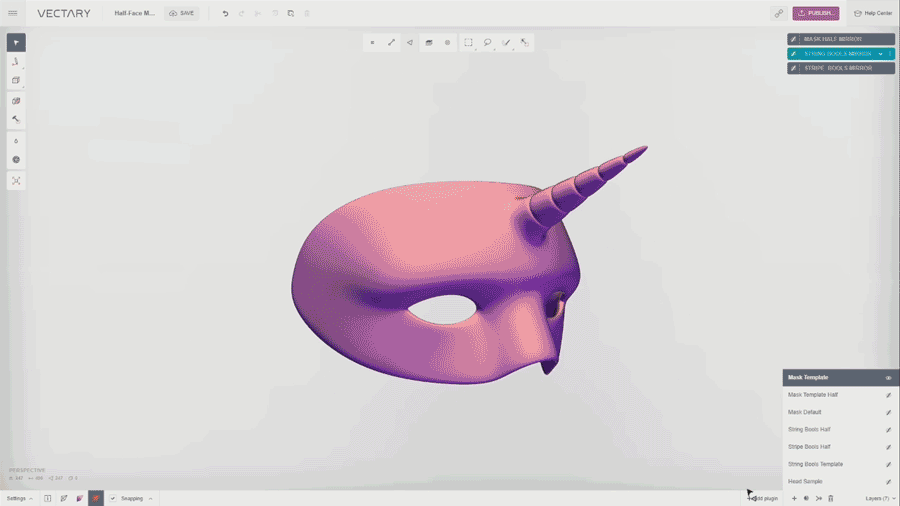
With Halloween just around the corner, our next 3D model was an easy choice: a unicorn Halloween mask created in Vectary as the finishing touch to your magical costume!
To create the unicorn mask, open this Vectary template and click the Customize button to enter the 3D editor.
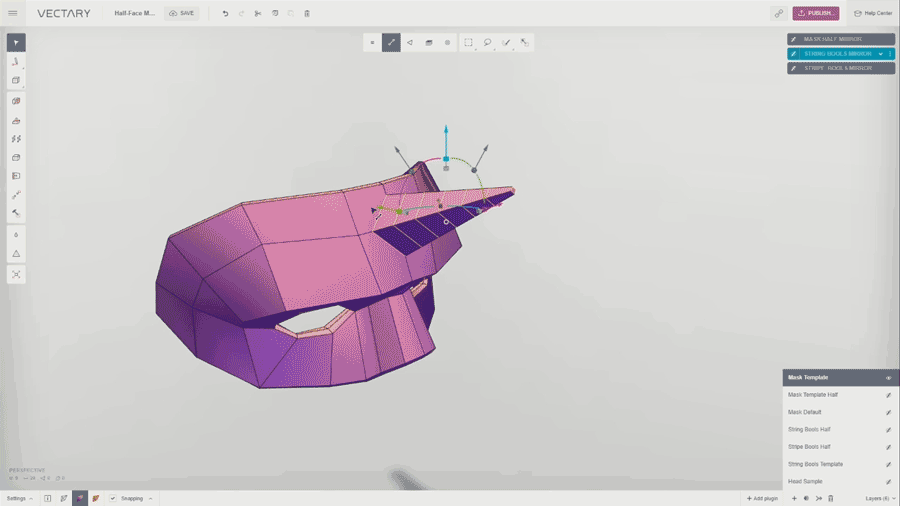
Note: Before you start transforming a geometry in Vectary, it is better to turn Smoothing off so you can see the object in its low poly shape. Seeing the way it is constructed will make it easier for you to see and work with it clearly.
Start by clicking Select Points in the top panel and then click the point located in the middle of the forehead portion of the mask to select it.

Click Bevel in the left toolbar and drag the blue handler to create a polygon as the base of the horn.

With the selection active, click Select Faces so that the face of the polygon is automatically highlighted.

Next, we’re going to use the Extrude tool in the left toolbar to create the horn. To do so, drag the blue arrow to set the size of the horn. Then scale the tip of the horn using the proportional scale on the Gizmo — it’s the grey cube on the top. (In Vectary, the Gizmo is a universal tool used for transformations.)


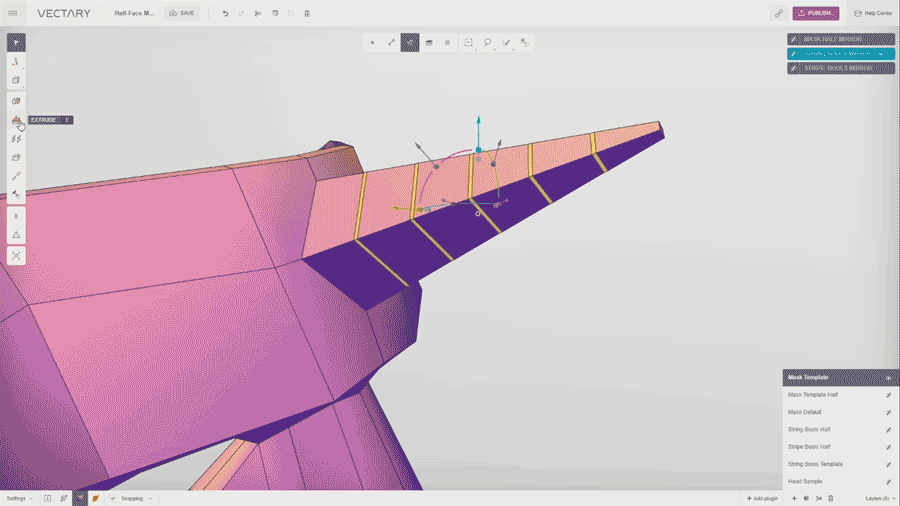
Click Select Lines, then click on all of the four lines of the horn’s base.

Now we want to add some lines on the horn, so click the Slide tool. In the Slide tool’s jog, set the number of copies to 6 and then set the Offset value to -1 to make the lines evenly distributed along the horn.

Click on the lines at the horn’s base with right click to deselect them. Next, deselect the lines on the tip of the horn using the Marquee Subtract in the top panel.
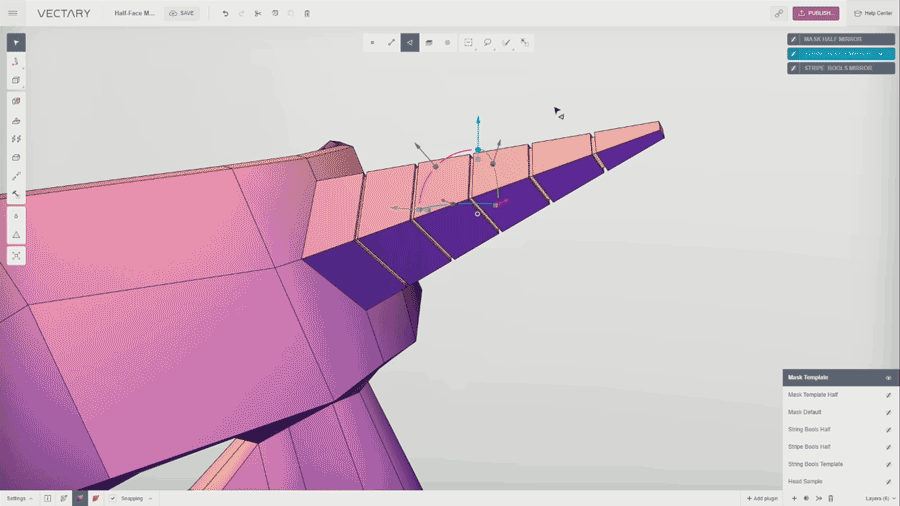
Bevel the selected lines a bit and then, while the selection is active, click Select Faces.

Extrude the faces inwardly, into the geometry. Use the Extrude tool and drag the blue arrow inside the horn.
You can now deselect all and click Smoothing to see the high poly shape of your mask.
To create holes on the mask for a string or stripe, you can use one of our pre-modeled objects.
Click +Add plugin to enter My Plugins and then select the Boolean plugin.
First, select a layer to be subtracted, in our case, the Mask Template.
Next, choose the layer to subtract with. You can find our pre-modelled objects in the layer named String Bools Template.
Click the Subtract icon and then Boolean.
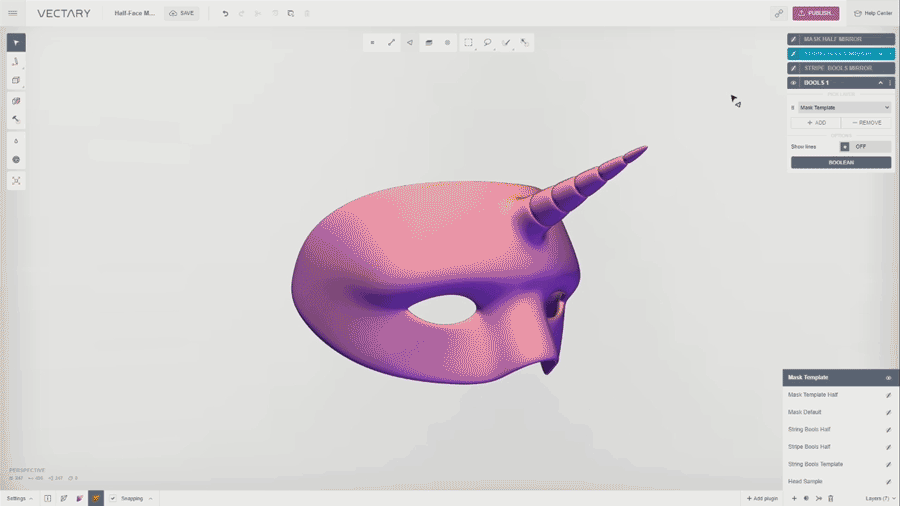
When the Boolean process is completed, click Bake in the dropdown menu to create the final 3D object with holes.

Now your 3D model is ready to be sent to Shapeways. To do so, click +Add plugin and select the Shapeways plugin from the list. Check the geometry, select the material (we chose White Strong and Flexible for this one), and send your 3D model to Shapeways.

Check your email for a confirmation message from Shapeways, which may take a few minutes to arrive. Once you receive the email, click the Proceed to Shapeways button, and it will take you to a Shapeways page where you can order your 3D print.

Of course, the customizing doesn’t stop there… feel free to go ahead and paint your 3D printed mask in a base color and add some glitter for a sparkling effect.
Have you tried customizing this mask in Vectary? What would you design differently? Perhaps adding some devil’s horns? Let us know how you decked out your mask in the comments below!