
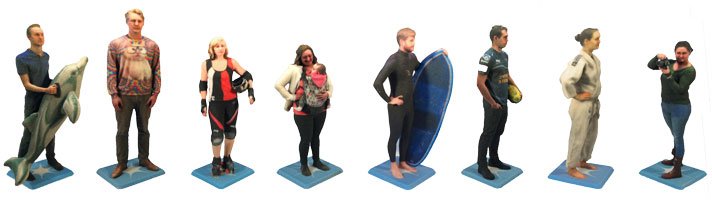
In the last edition of the Scanning Stories series, we discussed the gold standard: a 3D scanning booth. Most of us don’t have the money, time, or space to set up a scanning booth, but that doesn’t mean we can’t all get in on the action. Below, Shapeways’ 3D Scan Engineers Brigitte and Astrid tell us how to make the most of easy-to-use 3D scanning software Skanect to edit scans captured with the Structure Sensor.
While scanbooths are amazing, most of the time, we use a tablet-mounted Structure Sensor with Skanect software. Today, we won’t get into exactly how to take those scans (for a full rundown, click here), but we’ll go ahead and skip to the tricky part: editing the 3D models created by your scans.
3D models created using Skanect usually need some editing to become printable. Most of the time, the texture is too dark to print and has small flaws that need to be fixed. Thankfully, these fixes can be fairly easy.
There are multiple ways to edit your file:
After editing your scan in the Skanect software (most common steps are “Fill Holes”, “Move & Crop”, “Remove Parts” and “Colorize”), you can either choose “External Edit” in the Process tab or “Export Model” in the Share tab.
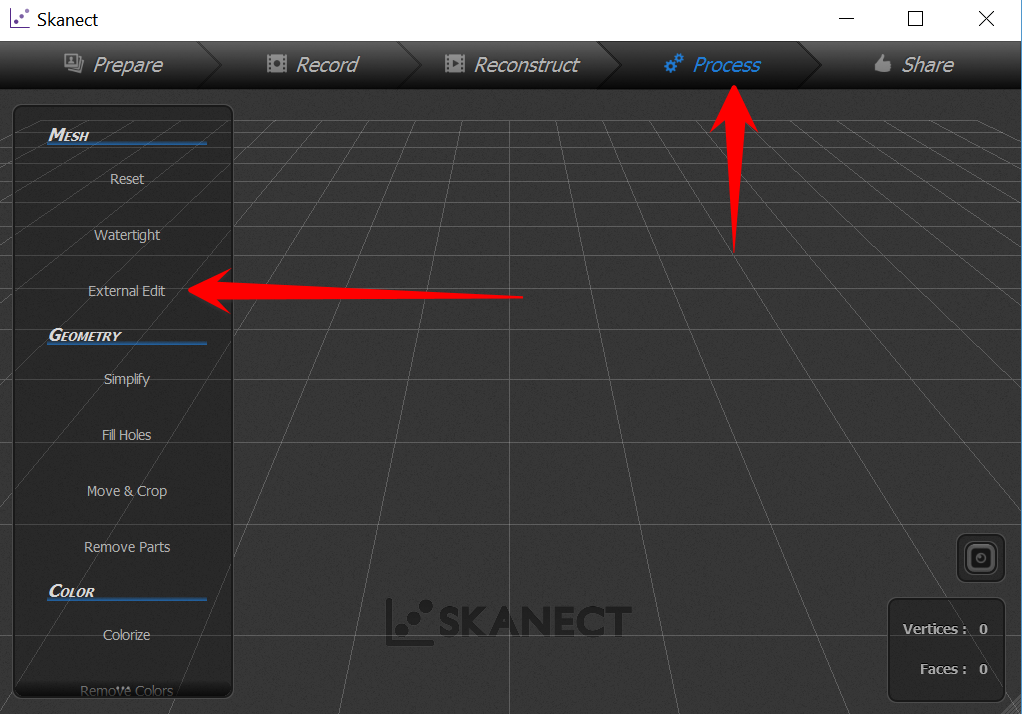
Let’s start with “External Edit,” which you can find on the Process tab:
Clicking this button will allow you to export a file named editme.ply. You can import this file into different editing software that can handle .ply files, like MeshLab and Meshmixer. Both of these programs are Freeware.
MeshLab is a free and open-source software you can download here. There are lots of easy-to-follow videos tutorials available. See MeshLab tutorials.
Meshmixer is a tool with several functions for manipulating 3D meshes. It’s great for tidying up a 3D model. You can remove unwanted areas, fill holes, sculpt the shape, and correct its orientation prior to 3D printing. You can download it here. For video how-tos on this software, see Meshmixer tutorials.
In our experience, MeshLab works best for adjusting texture. It has a bunch of filters you can use to adjust the texture’s appearance, like contrast, brightness, and hue. You can also add supporting platforms to your 3D selfies with MeshLab. Meshmixer also has the ability to adjust the texture, but doesn’t have too many options for doing so. It’s better for adjusting the mesh.
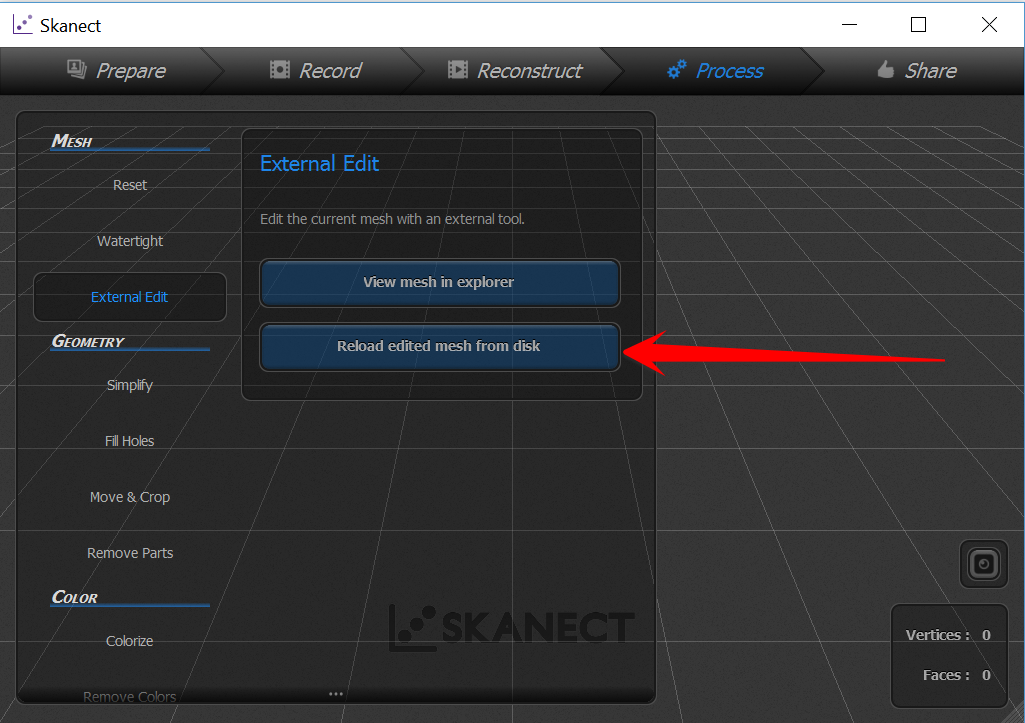
Once you’re satisfied with the result, you can export the model with the same name (editme.ply). This will overwrite the previous file.
Then, go back to Skanect and reload the edited file.
Then, if you go to the next tab, you can upload and save your model.
We have tested both MeshLab and Meshmixer, and now we also work with ZBrush.
One of the advantages of ZBrush is that you can export scans as .obj files, which creates separate mesh and texture files. With the texture file, it’s possible to adjust the colors and brightness of the texture in programs like Photoshop, Lightroom, etc. In our next post, we will import the mesh and texture from ZBrush to further adjust it. Orientation, hollowing, and platforms will be done in Netfabb.
If you have a subject in mind that we should address in a future Scanning Stories post, please get in touch.
Let us know what you think of this story, stay focused, and enjoy the world of 3Dscanning!