

For some designs and materials, hollowing out your 3D models can save you money when printing. In this intermediate to advanced tutorial, I’ll break down how hollow shells work, and how to easily make one using Meshmixer.
One of the best reasons to use Shapeways for 3D printing is having access to high-quality and incredibly efficient materials. Other 3D printing processes such as the one used by common FDM desktop machines are limited in the geometries they can produce efficiently. They require support both internally and externally to be printed along with the primary form — taking extra time, using more material and requiring heavy amounts of post-processing afterwards. Shapeways plastics such as strong & flexible plastic and frosted ultra detail allow for 100% hollow models and nearly unlimited geometries.
Shell vs. Infill

Source: https://zx3d.com.au/guide-to-3d-printing/
If one were to cut open any 3D printed object, one would find that that there are two distinct regions of the print. There is a outer edge of solid material called the shell, which makes up the walls of the print that are easily seen. The volume inside is where the infill goes; it can be totally solid (100% infill) totally hollow (0% infill) or some percentage in between. The infill is typically generated by the slicing software used to prepare the model file for the printer and may be set to be created in different patterns such as square, hexagonal etc.
Shapeways prints are made with either 100% or 0% without any additional infill being generated. Because of this, you’ll want to prepare your model file. Here’s how to do it:
-
Download Meshmixer
-
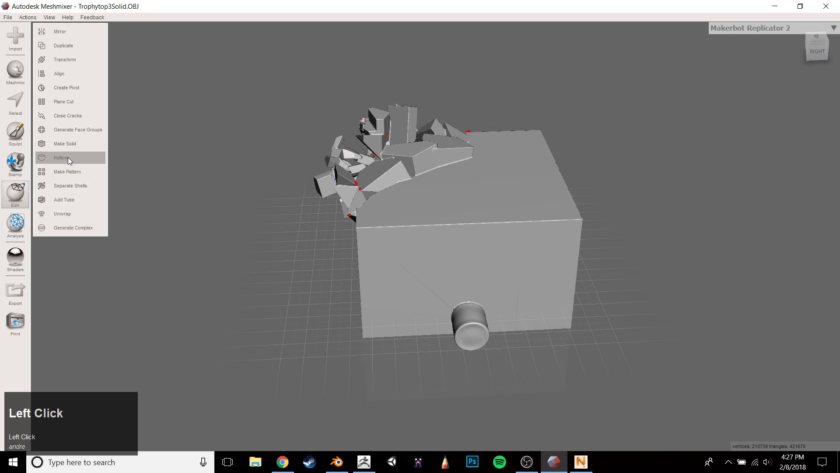
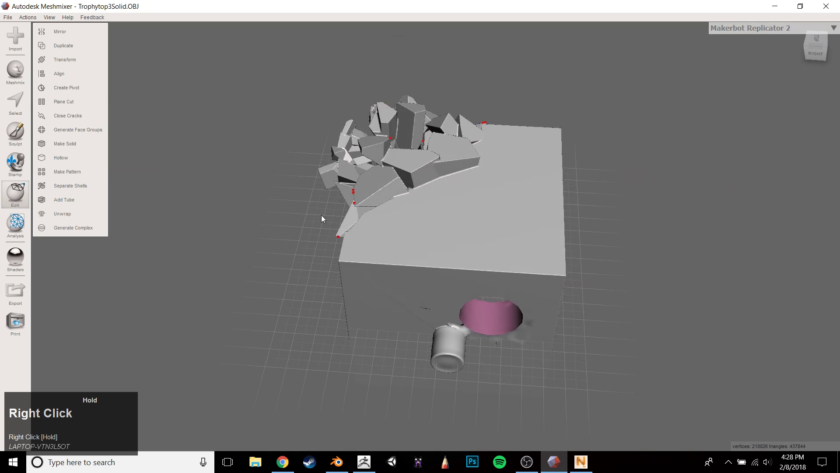
Import to Meshmixer to Hollow Out the Model
I could upload and print as-is now. But, to lower the costs I can make both the top and bottom hollow by using MeshLab. I import the top model into MeshLab and select the edit icon, then choose hollow.

Meshmixer will process for a bit and then give me some options to make the mesh hollow. This is great because it reduces the amount of material needed to print. Changing the offset distance at the top will change the thickness of the walls. I also add holes by clicking generate hole and dragging the holes around to the bottom of the trophy so that they will be out of sight when assembled. Once I’m happy, I accept and export the hollowed model. I can do the same for the base.
-
Upload to Shapeways
Next I go to my shapeways account and click upload. I choose my units as millimeters and wait until the upload process is complete.

If for any reason I need to change the size of the model I can just rescale at the top. I can choose to resize by percent or my the dimensions. In this case I decided I want to rescale by 1000% so that the finished models are both 100mm and stack up to 20cm.

Once I’m happy with my materials (I choose x and y) I click add to cart and wait for the order to arrive at my door!