
Our new RC Customization Series takes us inside a very cool Tamiya Hornet customization project, headed up by Shapeways’ Eindhoven Distribution Specialist Tijs Lochbaum and European Community Manager Ruud van den Muijzenberg. Tijs and Ruud show us how exciting (and surprisingly easy) it can be to use 3D printing to make your mark on RC racing.
Because of the global drone hype, I didn’t realize other remote-controlled vehicles were still a thing. But that was before I found out that my colleague Tijs Lochbaum, who works in our Eindhoven distribution center, is a national champion in RC car drifting!
Watch Tijs drifting with his own RC car:
Boy, was I wrong! Tijs proved to me that RC Cars are being used more than ever, in totally different ways than I expected, and that customizing them is the best way to enhance your performance in competitions. Accompanied by Tijs, I’ll deep-dive into customizing RC Cars and share the process with you via videos and blogs in our RC Customization Series. With us cruising on the first Lap of the series, we begin our journey at the beginning, showing you how we got started — and hopefully inspiring you to take on your own customization projects.
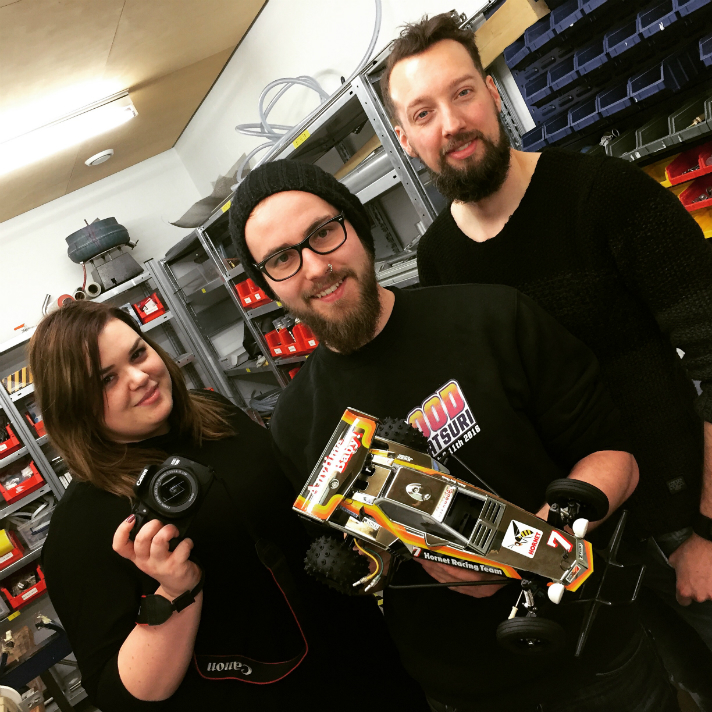
Adéla, Tijs and I on the first recording day of this project
Of course, we need a car to begin with. RC cars have been around for decades, so Tijs recommended we start this project with a classic: the Tamiya Hornet. Watch the awesome 1980s commercial below:
After ordering the original car online, we received a box filled with components a few days later. I was expecting to get a fully operational car, so I was a bit surprised, but Tijs reassured me this is normal (yup, I’m really exploring new territory). The big advantage of getting a car in separate components is that it’s easier to replace some of the mass-manufactured items with new custom parts, while still keeping the original essence.
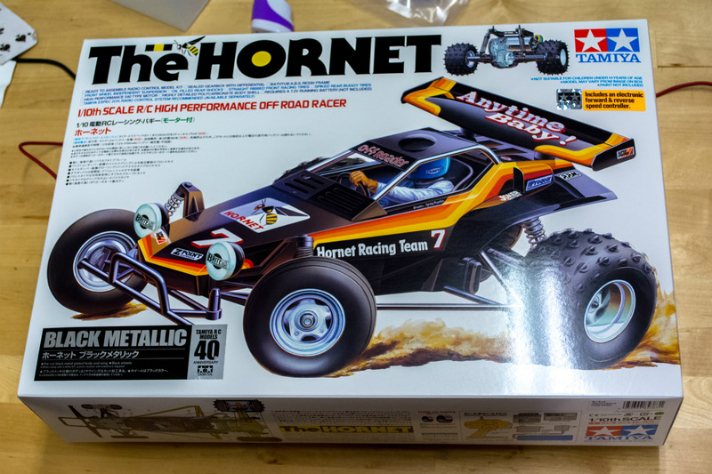
The box the Tamiya Hornet arrives in. It has an appropriately vintage look.
Tijs then built the car overnight, as you can read in detail in his forum thread, to explain that there’s a lot of work involved in making the original car.
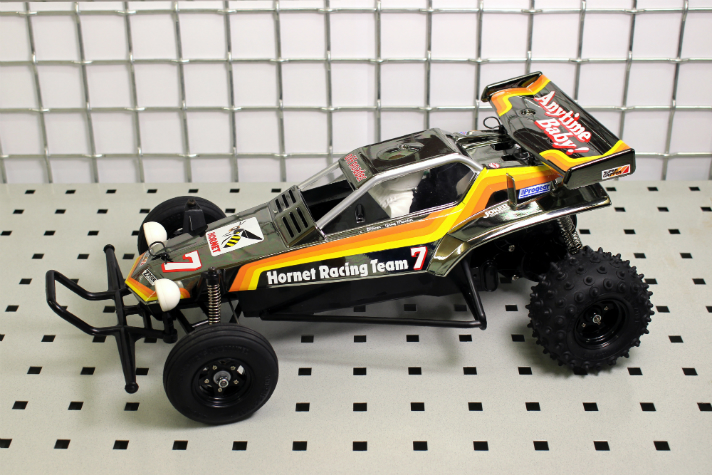
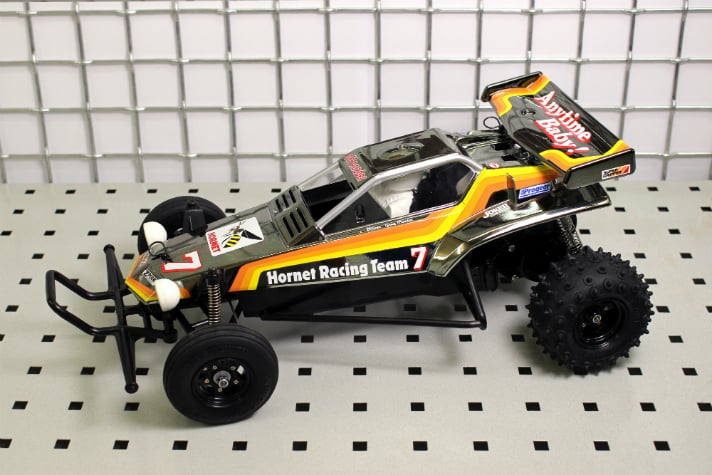
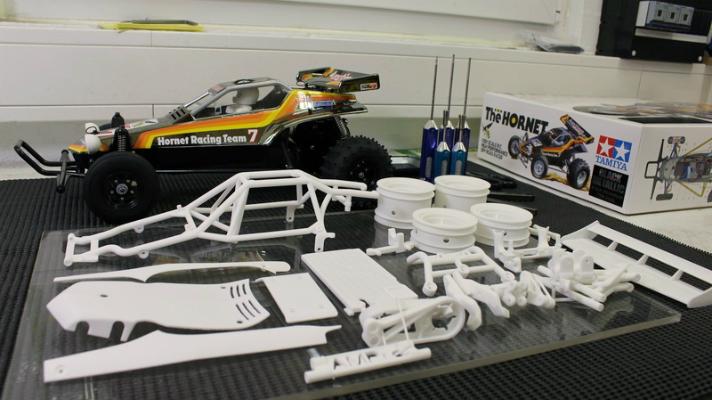
We now have our own Tamiya Hornet assembled in its original state, even with all stickers in place. Considering that the design itself is over 30 year old, calling it a classic buggy is an understatement. But then comes the question: you can’t go wrong with a big refresh after so many years, right?
Tijs brought the AMPro Engineering store on Shapeways to my attention as one of the go-to places for new, fresh designs of Tamiya Hornet parts (and for many other RC cars too). We ordered a bunch of AMPro products that we 3D printed in our White Strong & Flexible material at our factory in Eindhoven, as you can see in the overview below. You can find a full list of the products printed here. From here, our customization journey begins!
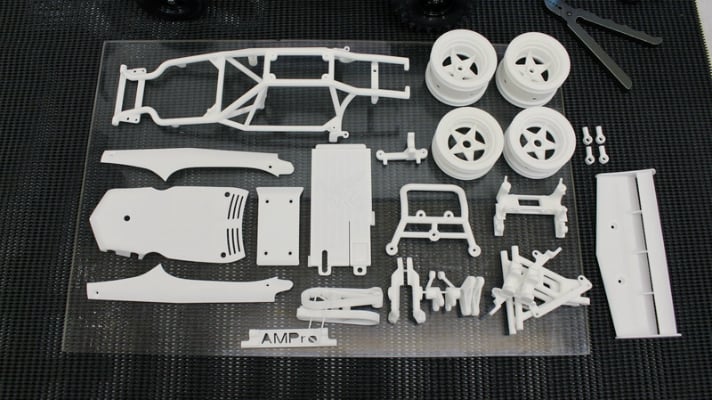
All parts here can be found in the AMPro Engineering shop and in the collection at this link
The designs offered by AMPro Engineering are perfect for the adjustments we have in mind, but other brilliant engineers such as James Knight from Knight Customs (read his Designer Spotlight here) offer a great digital inventory of RC car (and other RC vehicle) parts on Shapeways.
So, now we have a car, and we have a lot of 3D printed components. The next thing we need to do is prepare the printed components for assembly — but we’ll look into that in the next Lap of the RC Customization Series. Don’t forget to shoot us questions by commenting below or on our social media channels. We’ll be adding more Laps to the series soon, and we’ll make sure to take your input into account.
Awesome. I found AMpro on youtube and ordered the battery door and retainer pin for my Tamiya Hornet. Good parts which are well designed.
Hey PJ!
Glad you like the blog, and really cool to hear you ordered some of the AMPro items for your own Tamiya Hornet! Definitely share pictures on social media and tag us, we (and AMPro) would love to see how they fit on your car!
Cheers,
Ruud
I had a Tamiya Hornet in college (in the late ’80s) and I think it’s in my garage today. I remember when my Hornet was run over by a car, it crushed the body, so I fashioned one out of tin, which made the whole car much heavier. I may have to give AMpro a look to revive my old car.
Loved the post about the Hornet but could not find the parts on Shapeways. Am I looking in the wrong stop to find them?
Hey Jess!
The parts we’re using in these series are from AMPro Engineering. His shop can be found at http://www.shapeways.com/shops/ampro, then use the Tamiya Hornet section.
Show us the progress of your customization experiences in our forum thread too!
https://www.shapeways.com/forum/f/rc-cars-boats-and-planes.121/
Happy making!
Hi Jess! We’ve also made the parts featured in the blog available in this collection: https://www.shapeways.com/designer/rudylime/lists/rc-customization-series-featured-parts
Finally… nice to see a blog covering rc cars.. I have been using shapeways for rc car parts since 2012.
Check out my custom chassis(a short running video of proto 2) : https://youtu.be/rhXrGPX1n4E
Nice Martin!! Love the vintage look and sound of the video too!! Have you documented the design/building of the Wild Willy car in the past?
Really enjoyed part one of the blog and can’t wait to see the build in progress. I started out racing a modified Tamiya Grasshopper (cheaper, slower Hornet) in the 1980s so this is of special interest to me and more recently have bought a few of James Knights excellent designs for my Axial Jeep JK CRC edition.
Hi Clive!
Yeah Tijs told me a lot about the Grasshopper too! Glad to hear you like the story so far – we’ll release “Lap 2” of the series soon so stay tuned! 🙂
I owned this more than 30 years ago! It worked ok with new rear tyres but these wore out quickly and performance nose-dived. The solid rear axle was its single biggest failure, making it unstable and very poor in the turn (often spinning out of control).
Hope the new parts make all the difference and I hope they’re real tough as the rigid poly-plastics Tamiya used was prone to snapping.
Good luck !!!
HA! This is exactly what Alberto from AMPro told me this morning – he’s working on an upgrade for the rear axle as we speak. He did also mention that the crazy jumping was one of the weird but charming things about the Hornet.
The Strong & Flexible plastic we use does give the car a bit more flexibility, so breaking anything is less likely. But more on that in “Lap 2” of the RC Customization series 🙂
Best,
Ruud