
This article has been adapted from Bulent Yusuf, “Print Plus DIY Headphones Review: Pump Up the Volume,“ published on All3dp.com on June 14, 2017. (CC BY 4.0)
Print Plus DIY Headphones first emerged as a Kickstarter campaign way back in September 2015.
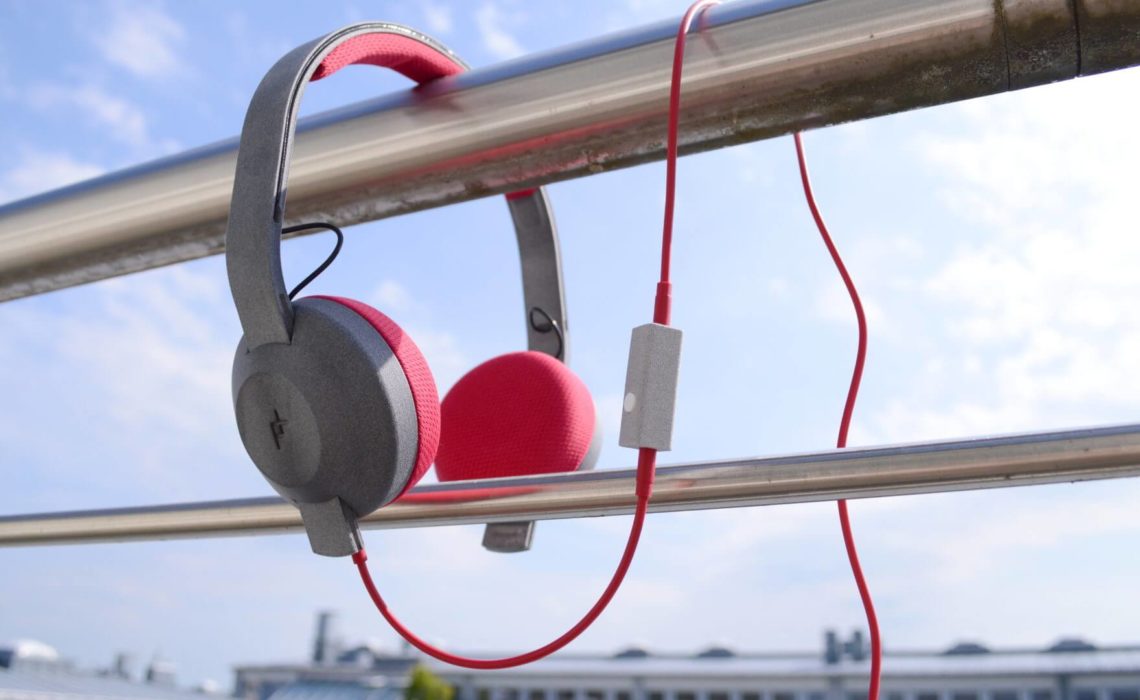
The pitch was simple: 3D printable headphones designed to be customized, repaired, and upgraded. 572 backers pledged €28,834 — nearly three times the original €10,000 goal.
The original delivery dates for the campaign were for March 2016, but this proved overly ambitious. In May 2017, the Print Plus headphone kits were finally released to the wild.
Instead of making the components on a conventional desktop 3D printer, we had the STL files fabricated on a HP Multi Jet Fusion 3D printer through an early access pilot program with Shapeways. The cost came to around €100, which might sound like a lot of amount of money to spend on DIY headphones, but we chose to do this because the new material is worth exploring. Plus, if the result turned out to be of high enough quality, the final cost would amount to a good value for a pair of audiophile headphones.
Now that the Kickstarter campaign obligations have been settled, Print Plus is selling their kits direct to the public for €35.
Components
There are seven different headphone designs to choose from. These range from traditional styles to futuristic minimalism and low-poly cans.
While we went with a higher-end material printed through Shapeways, if you’d like to print the components at home, Print Plus are recommending a new PLA filament from Polymaker called PolyMatte to print the headphones. (You can also buy the 3D printed parts in PolyMatte direct from Print Plus for an additional €35.)
But you’re free to fabricate the headphones using any material, service, or technology you prefer.
Other Components
The DIY Headphone Kit comes in a small black box. Tucked away inside are two cushions, a headband, cables with standard 3.5 mm audio jacks) in one of 21 colors, and a smaller box holding a pair of speakers and a single button remote/microphone.
In 23 steps, you go from separate components to a working pair of headphones.
Quality
We tested the DIY headphones by playing a series of FLAC (free lossless audio codec) files on both an Android smartphone and a PC. We also tested it with Spotify on an iPhone.
The FLAC files were the albums The Warning (Hot Chip), Abbey Road (The Beatles), and Currents (Tame Impala). We picked them because we’ve listened to them on a range of headphones and speakers again and again over many years.
The bass is deep and profound, and we can hear subtle details we’d never noticed before in songs we’d heard a million times already.
We also tested the line-in microphone on a phone call or two. It just works. The person at the other end of the line could hear us clearly. Ditto for hearing the conversation over the headphones.
Nothing to do with audio quality, but still relevant; the line-in remote functions as it should on both Android and iOS. One button to pause the music, two buttons to skip to the next track.
Downsides
Our DIY headphones ended up being a little heavy. Prolonged use may lead to fatigue. This is perhaps because we used a different production technique on STL files optimized for FFF. If you’re making your own pair at home, you may want to experiment with infill to get the right weight.
Also, we were disappointed that the headband cushion has already started fraying at one edge.
Verdict
Perhaps you could buy better sounding headphones for less money, but that’s not the point. The point is that you assembled them entirely by yourself, in the style of your choosing. And it was all made possible through the magic of 3D printing.