

When you print something on Shapeways, we want to keep things as simple for you as possible. We always strive to improve, and the insights we get from reaching out to you are invaluable in that journey. Today, we’d like to share a few things with you that can help make sure your next upload gets to you (and your customers’) door as soon as possible, looking just as wonderful as you imagined.
1. Make Sure You’re Using the Right File
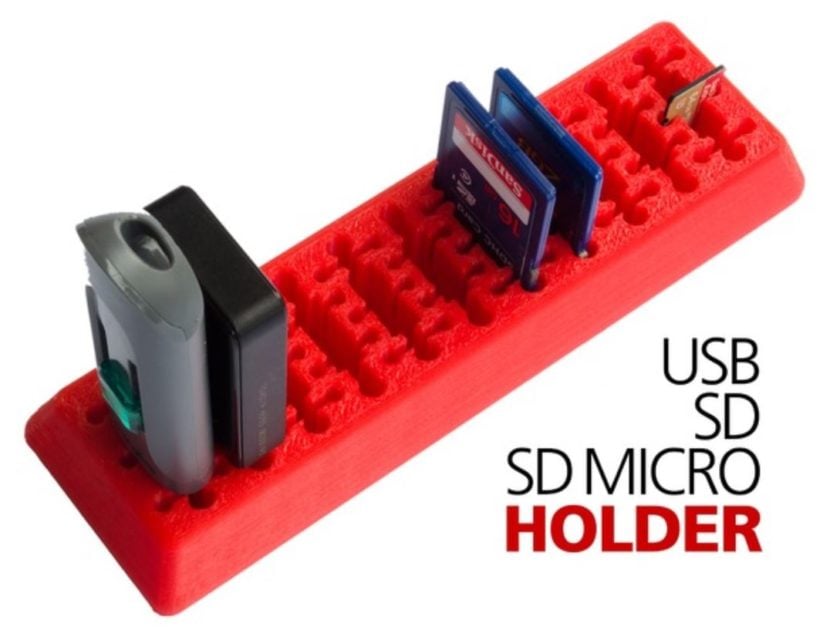
For this article let’s take a look at a file from Thingiverse user iomaa who creates several handy little pieces including an incredibly useful USB, SD, and Micro SD combination card holder:
The first step for a successful design upload to Shapeways is making sure that the file has satisfied Shapeways’ uploading guidelines. This little guy is an .STL file, which Shapeways supports, and is clocked in at a petite 3.9 MB, well under the limit of 64MB or 1 million polygons.
2. All in all, are the Walls too Thin?
This one is very important. Walls in your 3D model that aren’t thick enough to survive the printing process results in a subpar product for you and for us. When you’re looking at which material you want to use, always make sure the smallest walls are within that material’s minimum requirements.
Also, if you decide to print in another material, make sure you adjust your model accordingly, since not all of our materials have the same minimum wall thicknesses. For instance, our Strong and Flexible line of plastics have .7mm as the minimum thickness for either a supported or unsupported wall, while the Frosted Ultra Detail has a .3mm minimum for a supported wall, or .6mm for an unsupported one. When you upload a 3D file, these guidelines are shown in the “Wall Thickness” tab of your Material Overview.

Little numbers, important details!
3. Let Us Fix the Problem for You!
When we uploaded the multi-card holder, we did come across some problems in our file. It seemed a few sections had walls that were too thin; however, they were only in one section, because this is where the USB ports would be placed:

Oh, that looks thin…
The button “Fix Thin Walls” will take care of the problems that you might be having with them. Because the only problems that were on this model were the USB ports lived, clicking “Fix Thin Walls” didn’t lead to much of a difference:

But it’s probably not that bad.
I decided to let it be, since I know that if there was a serious problem with printing the piece, the button would have been much more noticeable. We don’t doubt that if your file ends up having larger problems, you might need to fix it yourself, but for someone who’s just starting, this is button is a huge help.
4. Don’t be Afraid to Scale Up!
Some customers try to print a model that is too small and intricate for us to print. For that, if you don’t want to scale it up yourself, we have our own resizing tool. It’s hard to miss: just look under the “File” section of your Edit Model page:

Click “Resize,” and you’re off to the races.
It can scale in millimeters, centimeters, meters, or inches, so make sure you’re using the right scale before you put the new numbers in.
Try it Today!
We’re always trying to make things easier for you when you work with us, and we’ve come a long way. Hopefully these couple tips can help you save time and headache when you’re trying to bring a new product to market, or just print something for yourself. If you have any other thoughts or ideas for making the process smoother, feel free to share it with us. If not, why not try uploading something for yourself? We’ve got a bunch of materials for you to play with. Happy printing!