

Though a lot of people know how easy it is to use Shapeways to create simple designs or 3D print their own existing designs, fewer people realize how easy it can be to customize jewelry, miniatures, and other pieces after you receive your prints. In today’s post, we’ll explore an easy custom jewelry finishing technique for Strong & Flexible plastic.
Strong & Flexible plastic is an incredibly versatile material. When this material is designed thin, it’s flexible enough for catapults or springs. When designed thick, it’s strong enough for a variety of tools or structural components.
Strong & Flexible is printed using SLS, or selective laser sintering. This process uses two lasers to sinter together nylon powder, layer by layer, until an entire printer build is complete.
The nylon powder that is used always begins as white. If a color is selected during the checkout process, we will hand-dye the material to your choice.
If you decide you would like to create custom colors at home, here’s how to get started:
Materials Required:
-
Pick Tool Set
-
Small Brush
-
Metal Pot & Water
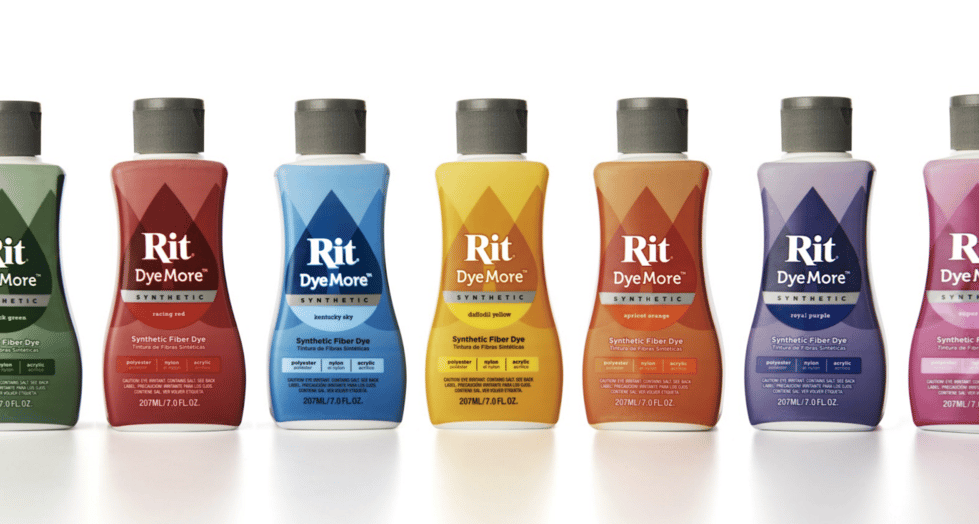
-
Nylon or Synthetic Fabric Dye
-
Drying Rack & Paper Towels
CLEANING PROCESS
The cleaning process is required to remove the excess support material (in this case, nylon powder) from the 3D printed products. This will allow for a clean and smooth surface to finish the designs. If all of the powder is not removed you may be left with areas that do not receive dye.
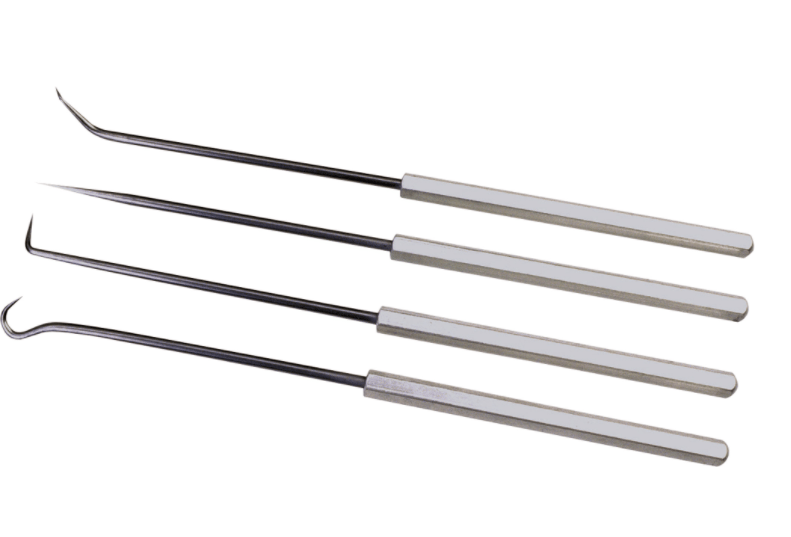
Pick Tool Set: gently scrape away any excess support material (nylon powder) caught in crevasses or holes.
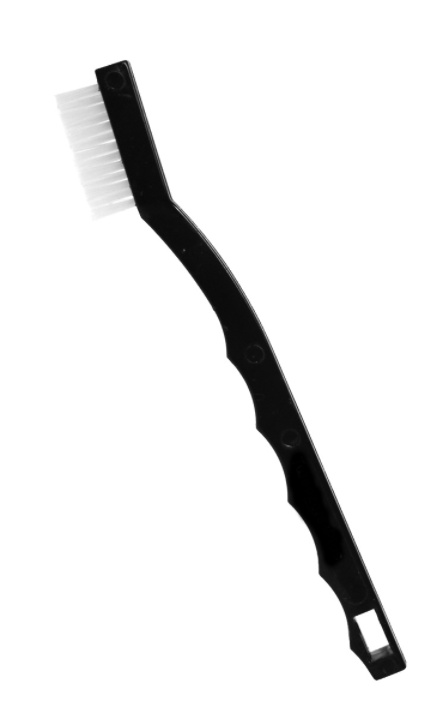
Small Brush: Using a small brush, wipe away the remaining powder.
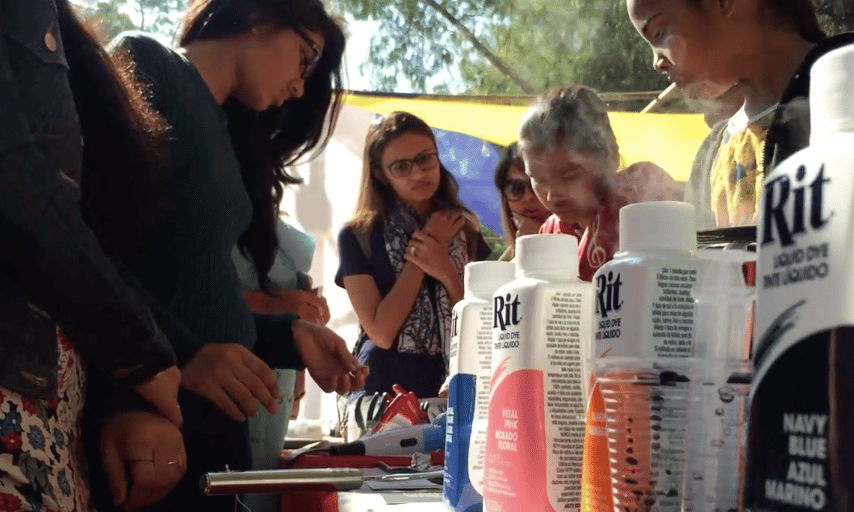
DYEING PROCESS
The dyeing process requires just a few materials: synthetic fabric dye, a metal pot, and water.
1. Create Dye Mixture
Measure out the appropriate dye and water for the material you will be dyeing. The instructions on the packaging should list out the appropriate amount.
Allow water and dye to come to a simmer and stir until dye is completely dissolved. If dye floats to the top, just scoop off the excess material.
2. Dye Products
Using a sample piece of material, test the dye and the timing for desired results. The amount of time the model remains in the pot will vary depending on your design and desired results. This can range from 3 – 10 minutes.
Submerge products fully within the hot liquid mixture. Follow your test results for perfect timing.
3. Air Dry
Air dry until the material is no longer wet to the touch. You may pat dry the products using paper towels to remove any excess water or dye.The dye should have saturated the top layer of the product. If not, replace the model in the pot for further dyeing.
Dyed Strong & Flexible pieces
Strong & Flexible nylon plastic is an extremely versatile material in its potential uses and finishes. We would love to hear how you customize this material at home. If you have your own post-processing techniques, please share in the comments or on our post-processing forum here.