

Following is a quick tutorial by our good friend Pookas aka Michael Mueller on how to make a stamp with Suguru and Shapeways 3D Printing…

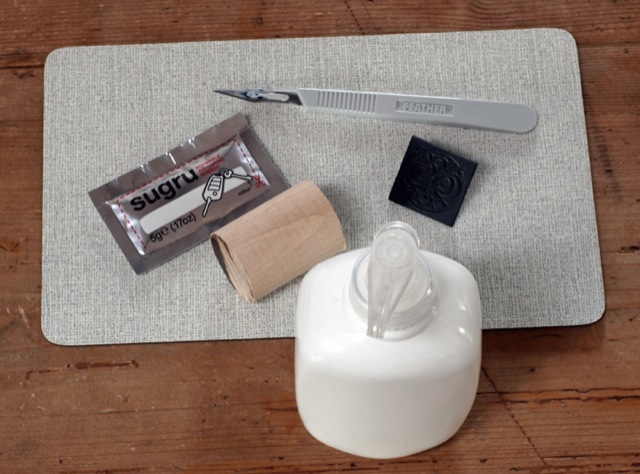
What you need:
1. A negative mold (the stampmaker), made via Shapeways 3D printing service.
2. Some Sugru.
3. A handle which should fit to the size of the stamp. E.g. a piece of wood or you can make the handle via Shapeways, too.
4. Liquid soap.
5. A knife.
You probably know sugru already. If not, it’s an air-curing rubber that can be formed by hand. It bonds to most materials and turns into a strong, flexible silicone rubber overnight.
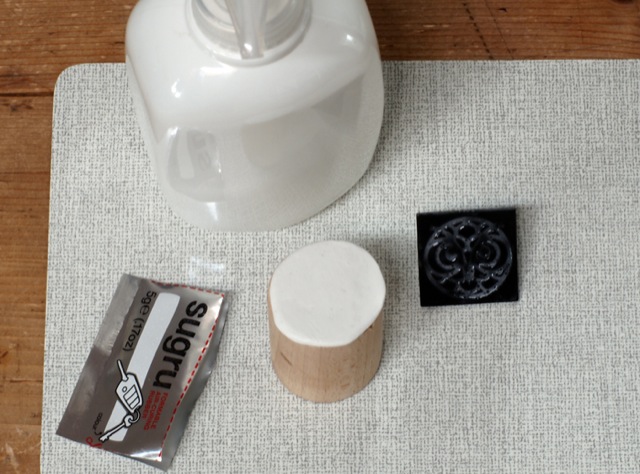
Put a thin layer (2 mm) of Sugru on a handle which should have more or less the same size as the stamp.
Make sure the Sugru on the handle is smooth and plane.
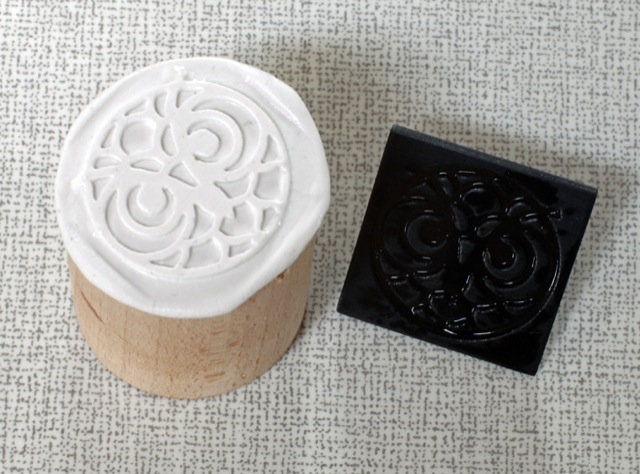
Put some liquid soap on the stampmaker. This will help to detach the sugru from the mold.
Press the stampmaker against the Sugru and remove it without destroying the imprint you made.
Grease some liquid soap on a plane surface and scrub the Sugru-Stamp against it. Don’t use too much pressure! This will help to make the stamp perfect smooth and plane.
Use a knife to cut away all unused Sugru on the border of the stamp.
Don’t forget to clean the stampmaker. This way, you can make as much stamps as you like.
Almost done!
Let it dry overnight and have fun with your new, handmade stamp!
You’ll need an ink pad with stamping ink for printing!
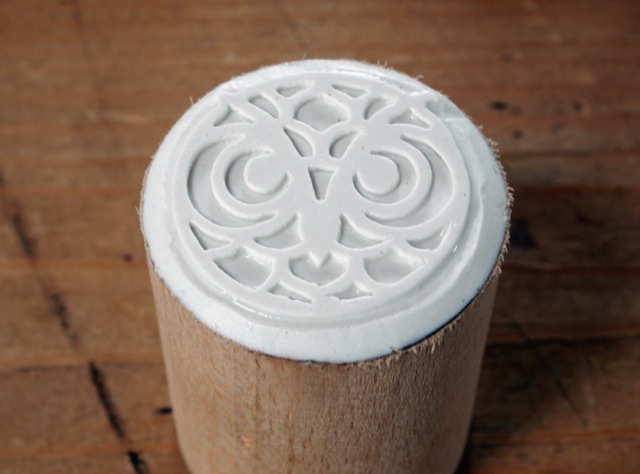

Never heard of this Sugru before, but I’ll have to try it out. Thanks for the great tip 🙂 Love the owl stamp that came out if this process.