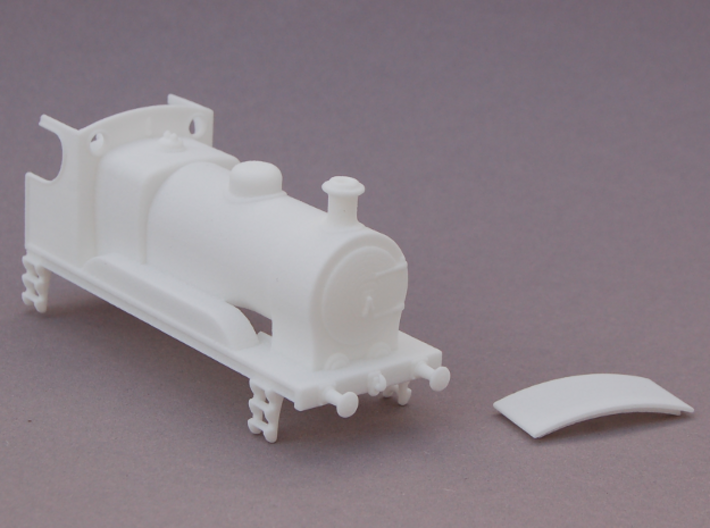
Tender and chassis not included


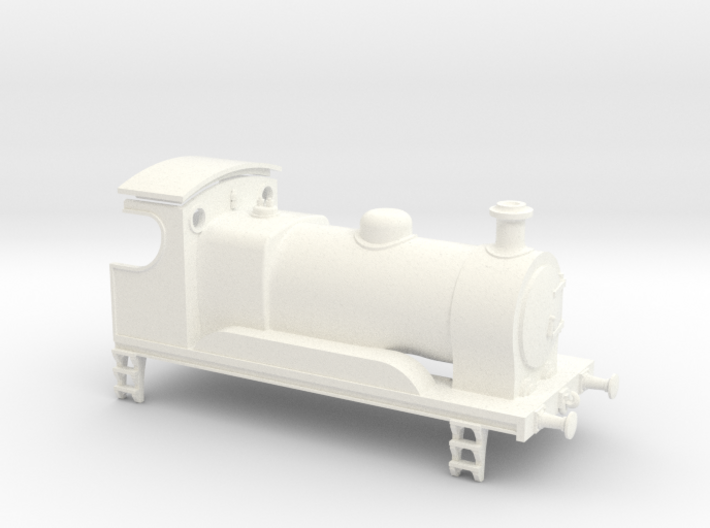
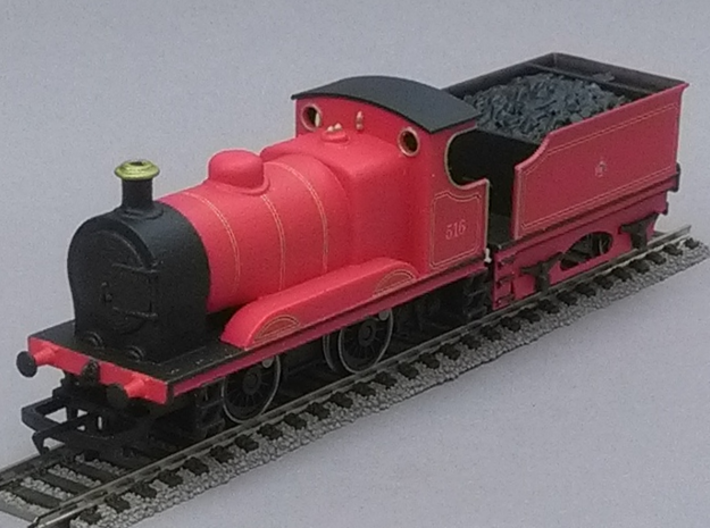
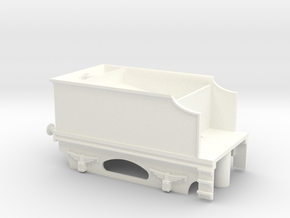
0-4-0 Inside Cylinder Tender Engine
Made by
Print With Shapeways
 Choose Your Material
 Choose your color and finish
$40.46
Have a question about this product?
contact the designerYou must be logged in and verified to contact the designer.
Product Description
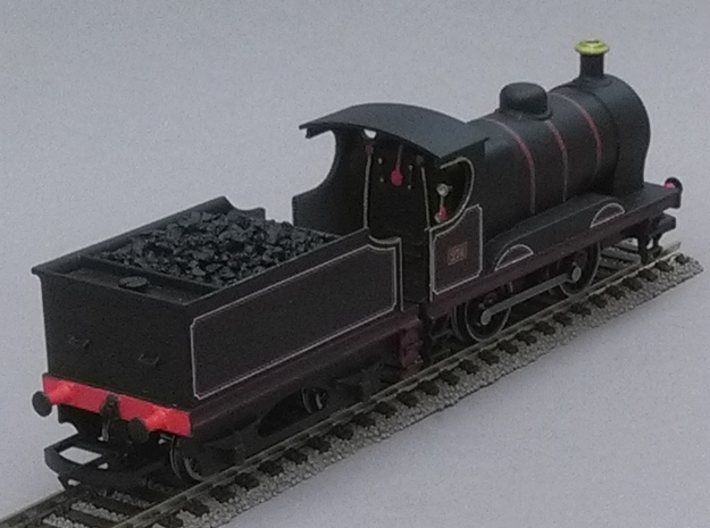
This is a freelance 00 tender engine body that fits on Hornby's low-cost 0-4-0 inside-cylinder tank engine chassis. Hornby make two tank engines with this chassis - either is suitable as a starting point. These engines are readily available (in good condition) second-hand. Do not use the outside-cylinder version of the chassis from the Holden 101 tank engine or the Caledonian Pug.
This is a freelance design, but its shape and size are not unrealistic. The Victorians made a variety of small tender engines (https://commons.wikimedia.org/wiki/File:Furness_Railway_No_20.jpg for example) but makers of ready-to-run locomotives tend to concentrate on the bigger 20th century prototypes.
In addition to this locomotive body, you will need a tender. A matching 4-wheel tender (https://www.shapeways.com/product/79FGLLQJU) is available for this purpose and must be purchased separately.
To remove the original locomotive body from the chassis:
To put the new body on the chassis, position the back end first. The chassis has two hooks behind the motor, and these attach inside the firebox. Then push the front end down until it clicks into place.
I have successfully mounted the body on two different chassis. You might find that the loops on the end of the motor retention springs get in the way, in which case you could trim them with wire cutters or bend them out of the way. Apart from this, there is no need to modify the chassis, but you should remove the hook from the rear coupling. There will be no difficulty in removing the new body and putting back the old one.
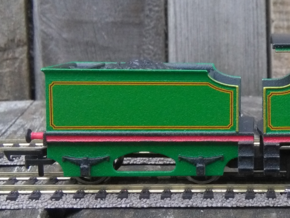
The model can be spray painted, or brushed with several coats of thinned hobby acrylics. Gloss acrylics are more durable than matt acrylics. After painting the glossy finish can be flattened with a coat or two of semi-gloss varnish.
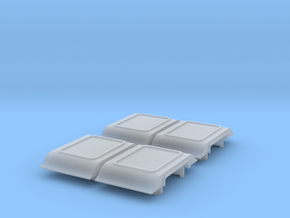
The cab roof should be glued into place after painting the interior.
This post on the RMweb forum has more details about painting and lining:
https://www.rmweb.co.uk/community/index.php?/topic/150415-freelance-tender-engine-for-the-hornby-0-4-0-holden-chassis/
This is a freelance design, but its shape and size are not unrealistic. The Victorians made a variety of small tender engines (https://commons.wikimedia.org/wiki/File:Furness_Railway_No_20.jpg for example) but makers of ready-to-run locomotives tend to concentrate on the bigger 20th century prototypes.
In addition to this locomotive body, you will need a tender. A matching 4-wheel tender (https://www.shapeways.com/product/79FGLLQJU) is available for this purpose and must be purchased separately.
To remove the original locomotive body from the chassis:
- Remove the screw that is underneath at the front of the locomotive (not the one in the middle, which holds the motor in place).
- Lift off the locomotive body.
- Remove the screw at the rear left of the chassis, which holds a metal block in place.
- Work the metal block out of the chassis by gently twisting it clockwise. It is held in place by a small pip on the right hand side, so some careful flexing of the chassis will be necessary to get it out.
To put the new body on the chassis, position the back end first. The chassis has two hooks behind the motor, and these attach inside the firebox. Then push the front end down until it clicks into place.
I have successfully mounted the body on two different chassis. You might find that the loops on the end of the motor retention springs get in the way, in which case you could trim them with wire cutters or bend them out of the way. Apart from this, there is no need to modify the chassis, but you should remove the hook from the rear coupling. There will be no difficulty in removing the new body and putting back the old one.
The model can be spray painted, or brushed with several coats of thinned hobby acrylics. Gloss acrylics are more durable than matt acrylics. After painting the glossy finish can be flattened with a coat or two of semi-gloss varnish.
The cab roof should be glued into place after painting the interior.
This post on the RMweb forum has more details about painting and lining:
https://www.rmweb.co.uk/community/index.php?/topic/150415-freelance-tender-engine-for-the-hornby-0-4-0-holden-chassis/
Details
What's in the box:
tender_engine07_inside00

Dimensions:
Success Rate:
First To try.
What's this?
Rating:
Mature audiences only.

More From This Shop
$16.07

$33.46
$33.17