Postprocessing Example W/ Strong Flexible Plastic - 1/24 Racing Driver

Discussion in 'Feature this!' started by WinupScaleModels, Sep 5, 2016.

  1. WinupScaleModels
    WinupScaleModels Active Member
    I'd like to share some postprocessing techniques about finishing a printed model having grainy surface texture, as printed with the strong and flexible powder plastic material. However, this technique should work as well for other surface textures.

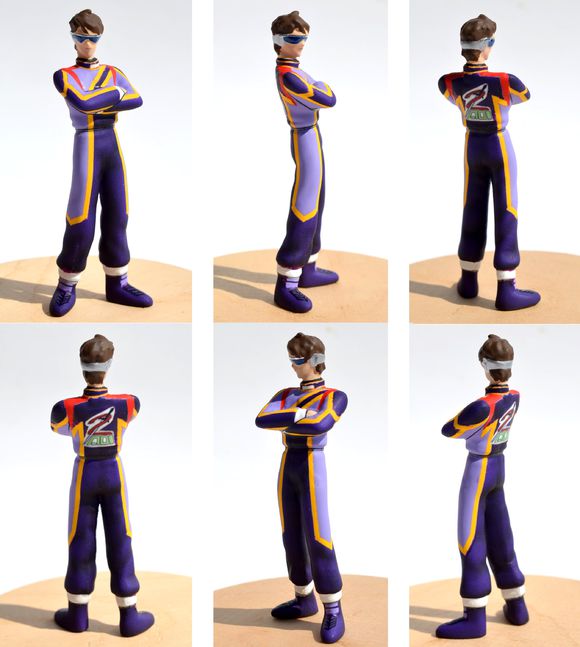
    This method can result in smooth surface without losing much detail of the models. This is my first finished model with Shapeways, a 1/24 scale racing driver with sunglasses (thus the object height is about 7 cm).

    This is the painted version:
    SW_Finish.jpg

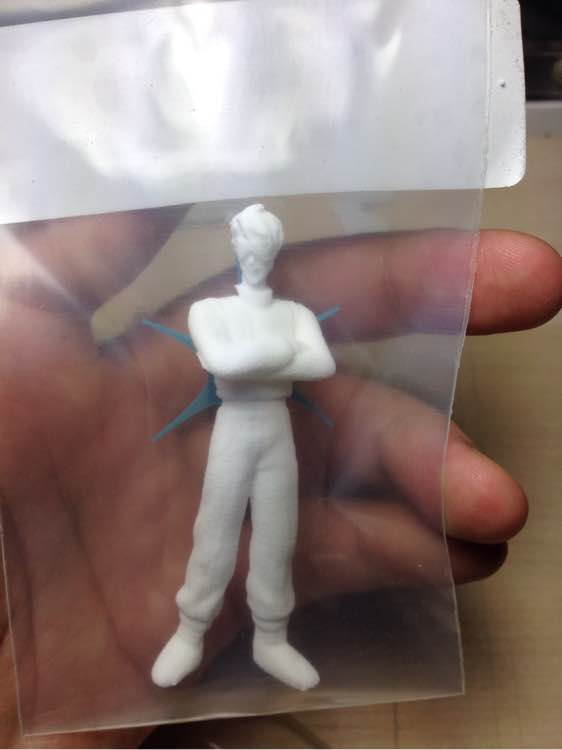
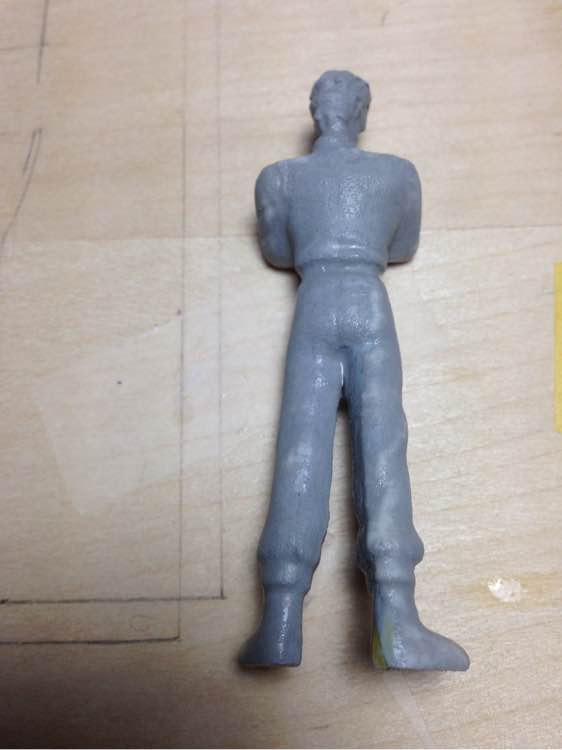
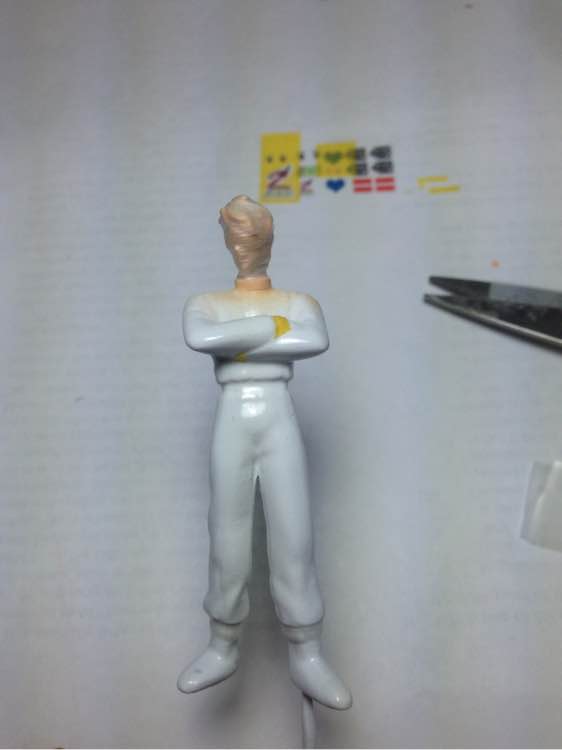
    This is what I receive from Shapeways.
    SW01.jpg
    The post processing steps include the following:

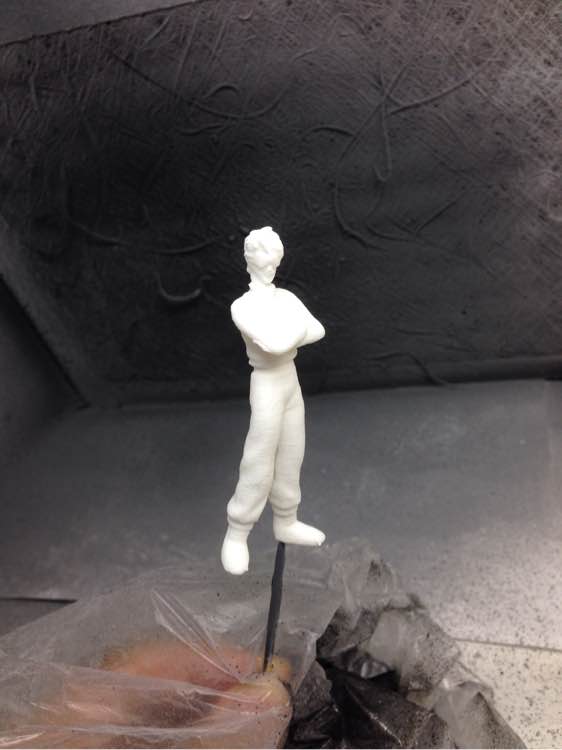
    1) Use thin superglue (such as thin CA) or lacquer clear paint to seal off the powered surface (apply directly onto the model and don't worry about over-applying, the material is porous at the surface and will absorb the glue, if applied too much, let the thin glue drip off).
    SW02.jpg

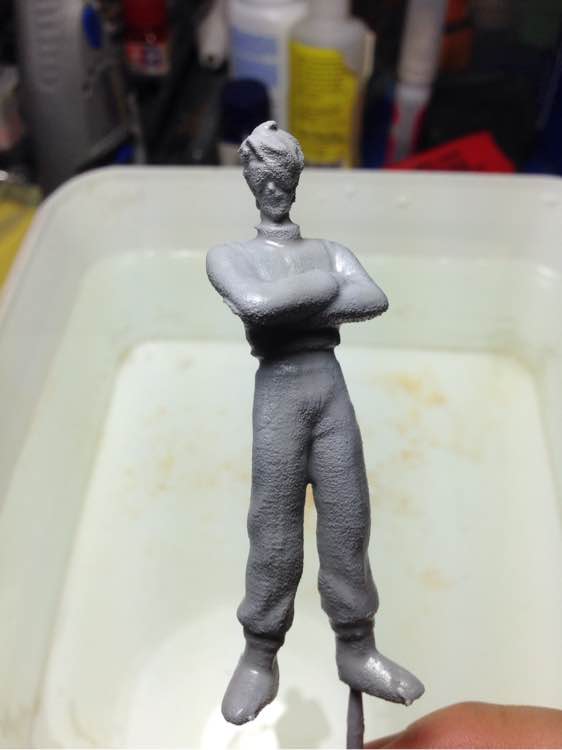
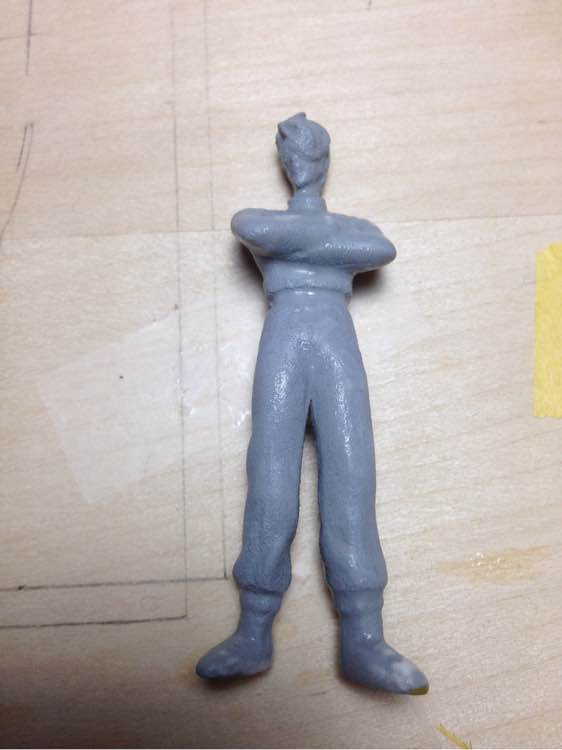
    2) Apply grey primer after sealing. (Then apply a different color primer for indicating smooth level when sanding, but because the base color is white, i used only grey primer in this example). Please note how porous the surface was at the head or other details - these details were not sanded or polished but were smoothed by the subsequent coats - see below.
    SW03.jpg

    3) Here's the initial sanding - the primary purpose is reduce the number of primer layers needed - but you may opt to use more layers of primers if sanding seems too troublesome. I also filled the gaps and filed away unwanted protrusions in the model (including the bottom shoe surfaces). I also drilled a 1 mm hole for later pinning and handling.
    SW04.jpg

    4) After rough sanding, apply more primer layers one by one - this will slightly increase the outer surface dimension but will not remove already existing structural details.
    SW06.jpg

    5) Here, the next layers of primers are white (because it's in preparation as a base color for subsequent painting).
    SW07.jpg

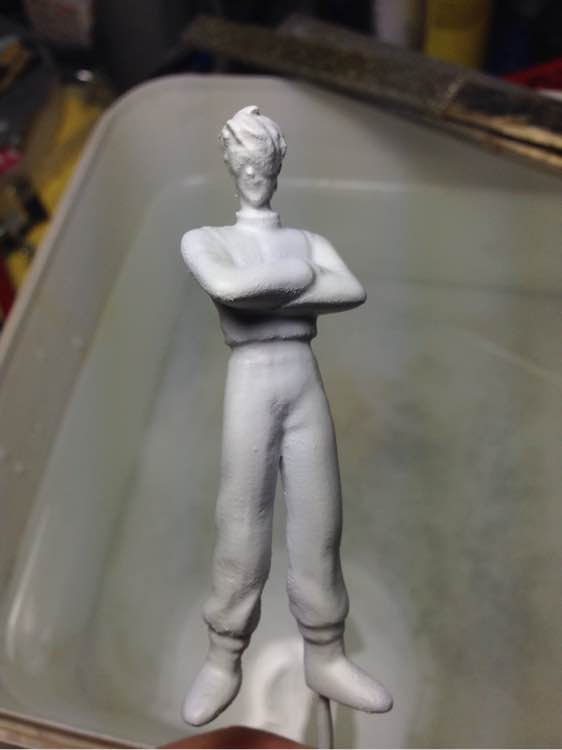
    6) A glossy coat of clear is applied to seal off the primer base coat. As you may see below, the original surface texture is removed. I masked off areas that will retain the base color.
    SW08.jpg

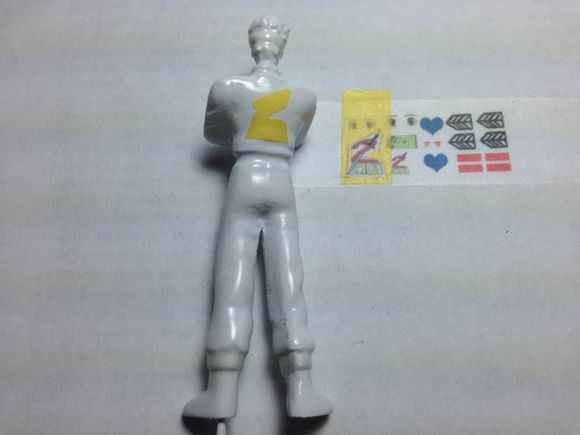
    7) Subsequent steps are all about painting. Use general painting and masking techniques to apply color coats one by one (or one may hand-paint freely). Someone may ask why didn't I just make a color model and print out the model directly. This is because the finish color and texture of 3D printing as of 2016 is far from desirable from a scale modeler's standpoint (e.g., color brilliance, level of surface property ranging from gloss to matt, etc.). This may change in the future with the improvement of the printing technology and indeed render this post pointless.
    SW09.jpg

    8) Here's the removal of masking tapes to reveal the colors. Then I hand painted details to finish. An additional matt clear coat will be applied to seal everything in.
    SW12.jpg

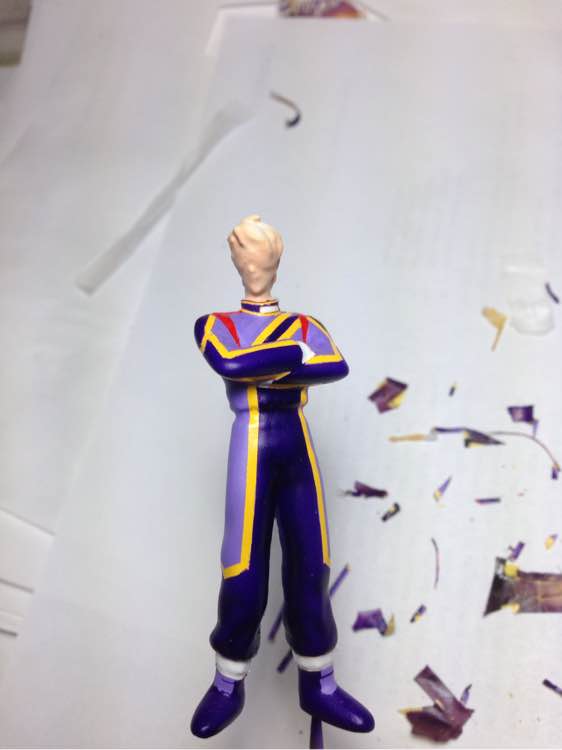
    I hope this post can be helpful to the community. Cheers!

    The relevant product can be found here: http://shpws.me/Mhw7
     
    Last edited: Sep 5, 2016
  2. jimmyadvice
    jimmyadvice Shapeways Employee CS Team
    @WinupScaleModels this is amazing! Thank you so much for sharing. This is very helpful for the community and I have definitely bookmarked this link to share with customers in the future.
     
  3. Andrewsimonthomas
    Andrewsimonthomas Well-Known Member
    Great job! I'm looking to find a way to feature this in our blog :)
     
  4. JoyComplex
    JoyComplex Active Member
    Nice work man.
     
  5. 3DKitbash
    3DKitbash Member
    This is an amazing post! - - - Could you please talk a little more about the Step 1 where you apply glue to the model? - - - Perhaps discuss the type of glue you used and how/if you thinned it yourself. - - - I wasn't aware this step was even needed. - - - Explaining it further and why you do it would be so helpful. - - - Great work, and great post!
     
  6. WinupScaleModels
    WinupScaleModels Active Member
    Thanks for your comment. Step 1 intends to solidify any loose powder that is not fused by the laser during the printing process. The CA glue I referred to is short for https://en.wikipedia.org/wiki/Cyanoacrylate. It has three thicknesses on the market. The thin type flows smoothly and will not build-up. Because build-up with thick CA could reduce printed details. Thin CA will permeate through the surface powder materials and form a solid acrylic surface - which would be a good foundation for both painting or sanding. I also mentioned that spraying layers of lacquer paint, which flows well and cures into hard surfaces may be used instead of CA. CAs are sold in many hobby shops and can be found easily online. Essentially, this step solidify and thus removes any loose powder near the model surface, and help removing trapped air or cavities in the following steps. Step 1 provides a greater surface area for later primer layers to grab on than a printed surface without step 1 (but if the printed surface is non-porous, such as formed with liquid resin, step 1 may not be necessary).
     
  7. tandre92
    tandre92 Active Member
    Any advice on using superglue, or some type of adhesive on coated full color sandstone to stick to a non porous surface? Im guessing the thin coated layer will protect the model from any liquid discoloring or damage in general right?
     
  8. WinupScaleModels
    WinupScaleModels Active Member

    Thin CA as discussed above can work as a sealant to prevent particles from falling out. It also increases the saturation of the colors because lights can better get in and reflected out of the pigments. But for protection, I recommend adding coats of gloss lacquer. My recommendation would be: for large models (over 3 inches or 75 mm), use household gloss (big bottles available in hardware stores). But for small ones, use Mr. Hobby's lacquer based clear coats (comes with: gloss, semigloss, matte, and UV gloss). The UV gloss clear is the only one that will protect against discoloration.
     
    tandre92 likes this.
  9. stacked
    stacked Member
    thanks this is great
     
  10. tayvone
    tayvone Member
    good afternoon I just got off the phone with the UPS sales rep about my package they will send the package back to you.i do not know how I missed this package but I would like to have it sent back to me asp I never receive no package at my house or have you got any emails from UPS stating my package was somewhere to be pick up.
    think you: